The Basic Plan:
Wednesday: begin disassembly and surface preparation.
Thursday morning -- finish sanding and disassembly.
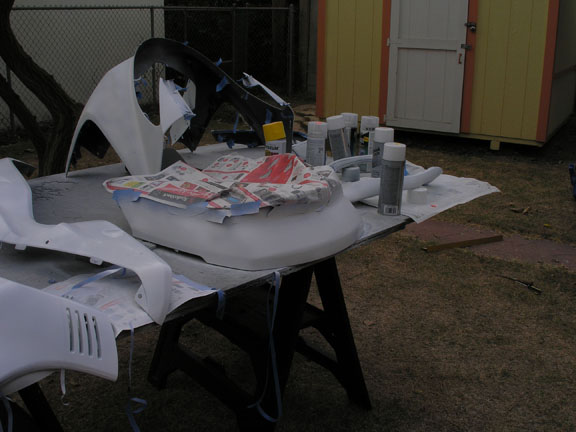
Thursday Noon -- layout and prime parts
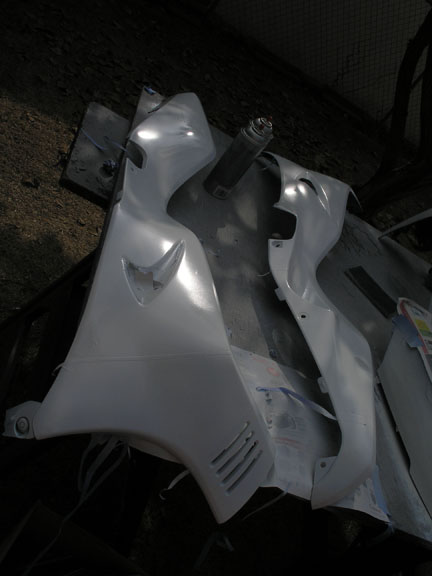
Thursday Evening -- first coats of white.
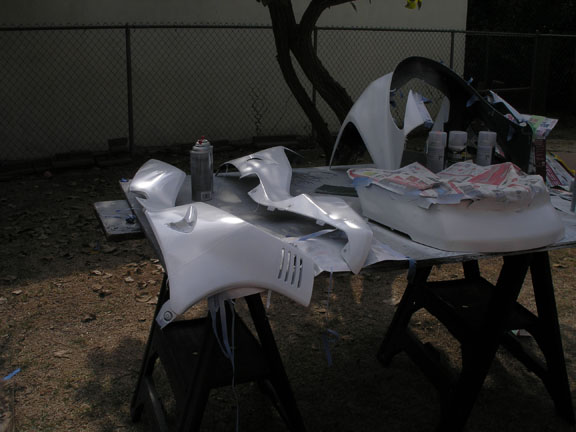
Friday morning -- second and third white coats
Friday Noon and Evening -- cut stencils
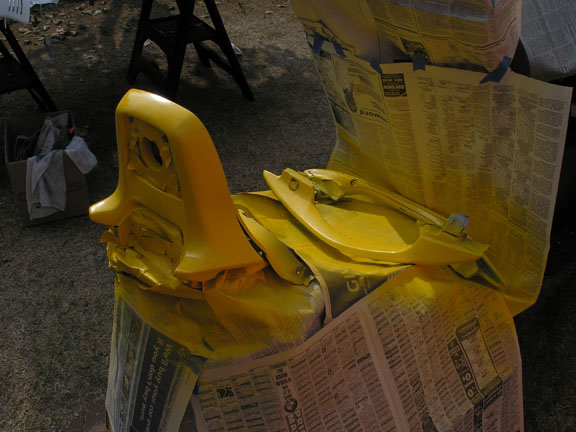
Saturday morning -- Stencil black, reds and yellwos and paint
Saturday Noon and Evening -- Airbrush and toning
And as they say about the best laid plans...
Thursday
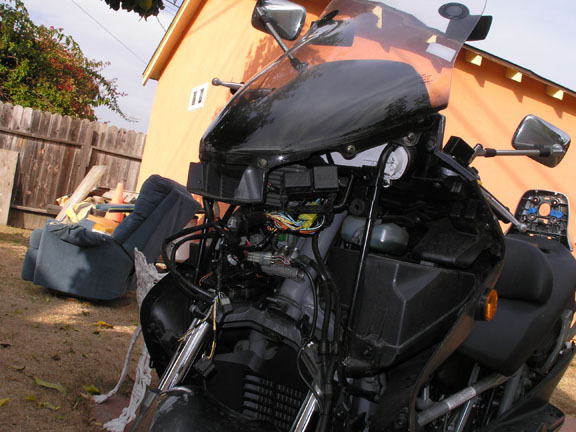
I arrived at 10 a.m. By 1030, I had all the foil tape I had put on (to help visibility) and one AAA sticker off. The other AAA sticker was designed to chip away rather than peel. So after a fruitless effot of over an hour using everything I could, including Goo-Be-Gone, I decided to simply paint over, then cover it with a replacement sticker at home. That the Goo-Be Gone didn't help even after half an hour soaking in disappointed me.
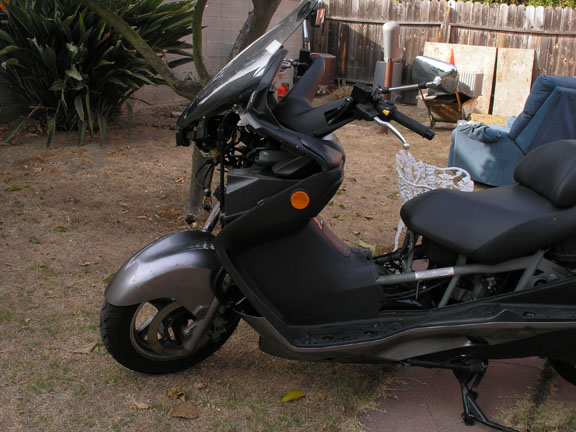
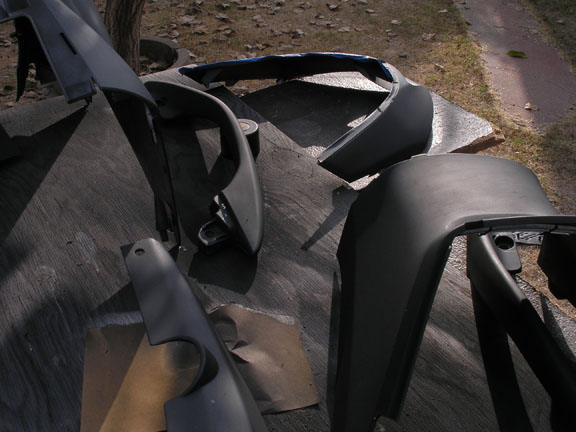
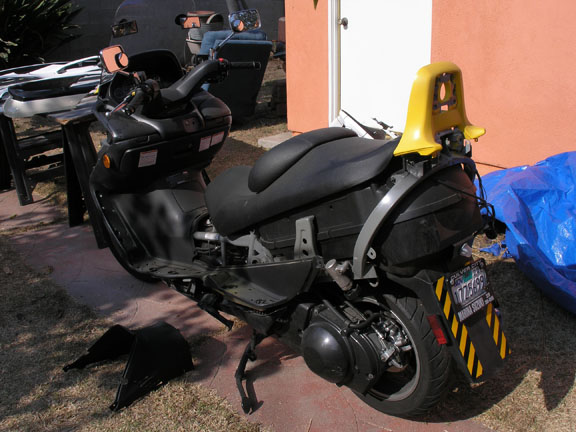
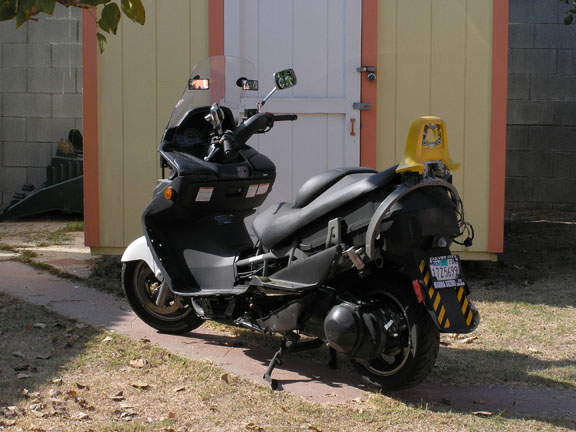
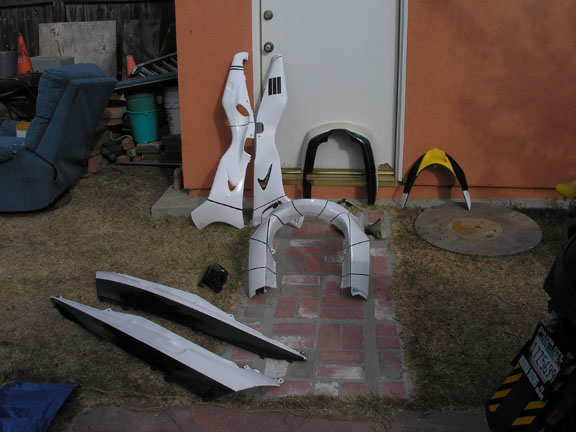
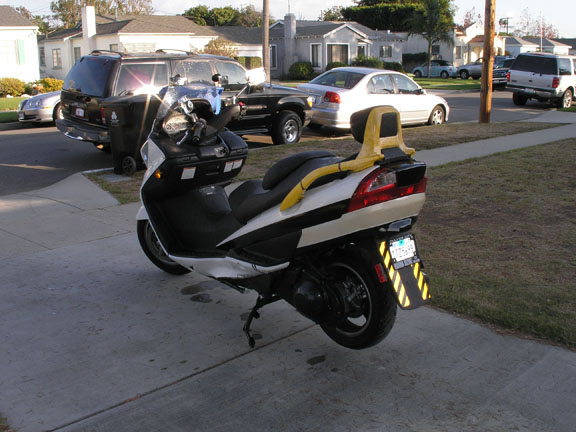
It's true that Chinese puzzles are more complex, but it must have been the design premise the engineers who built this bike kept in mind. All the pieces of this bike are self-interlocking and done in a particular order. My hope is that the order will be apparent upon reassembly.
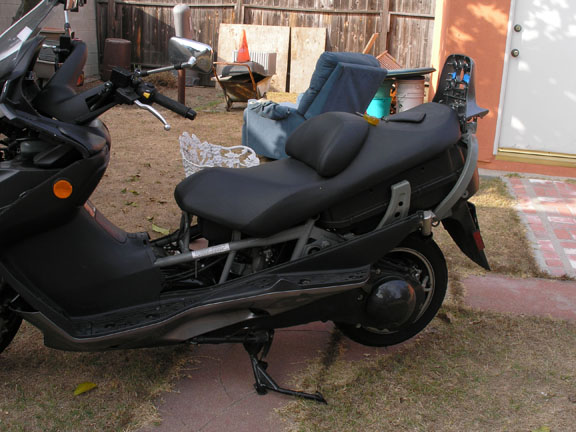
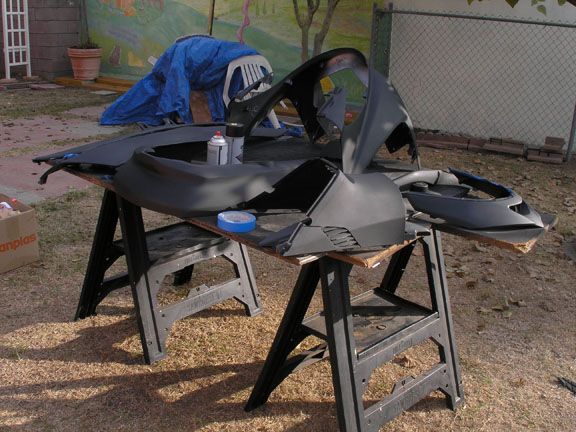
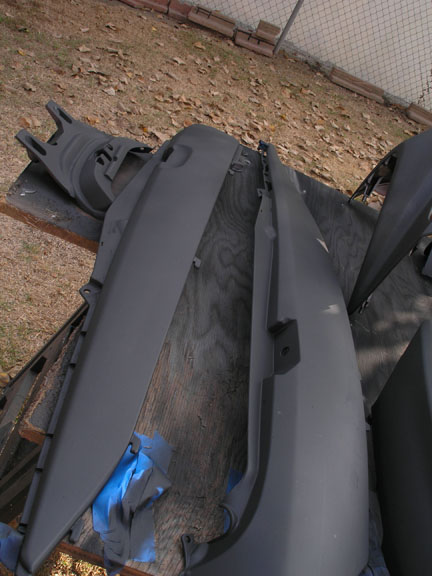
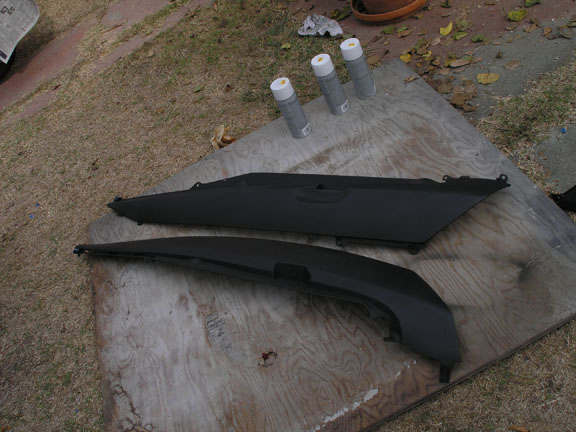
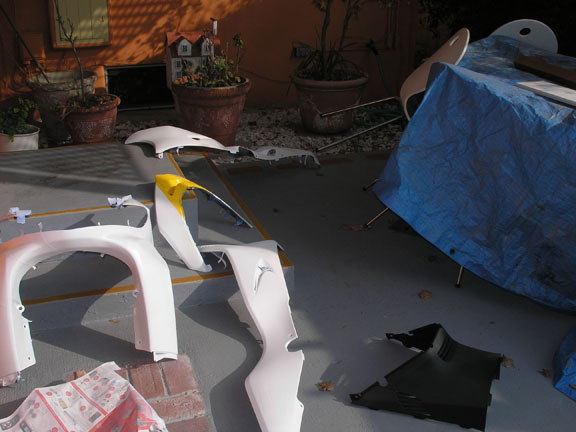
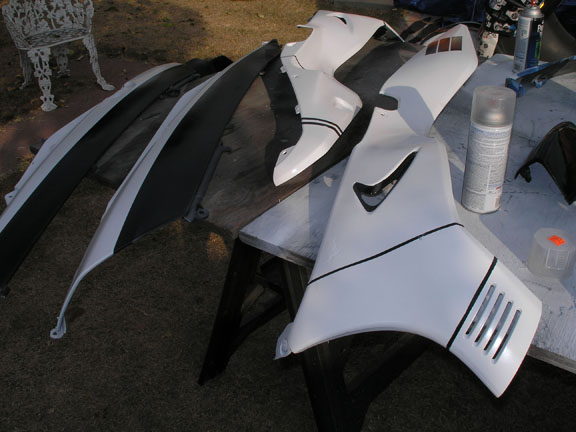
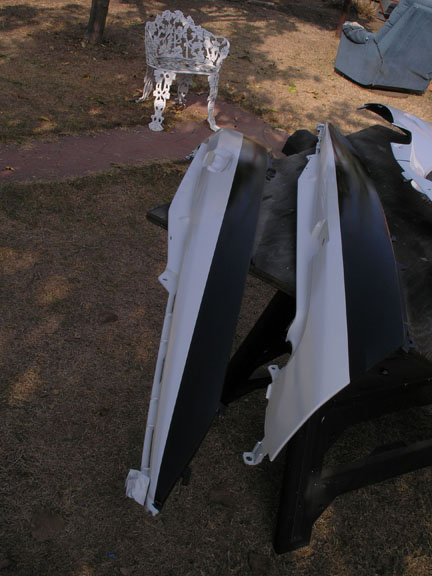
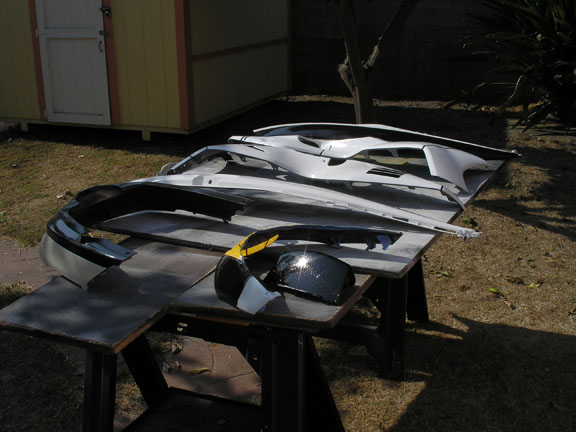
After I'd begun priming all the panels black, I glanced over at the bike's frame and saw that I still had not removed the running board panels. So I finished off what I was doing, took them off, prepped and primed them as well.
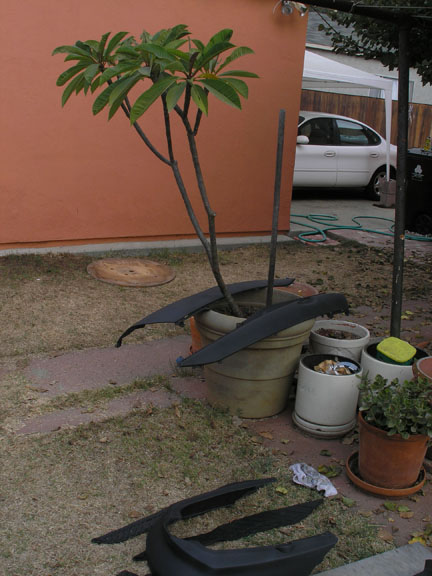
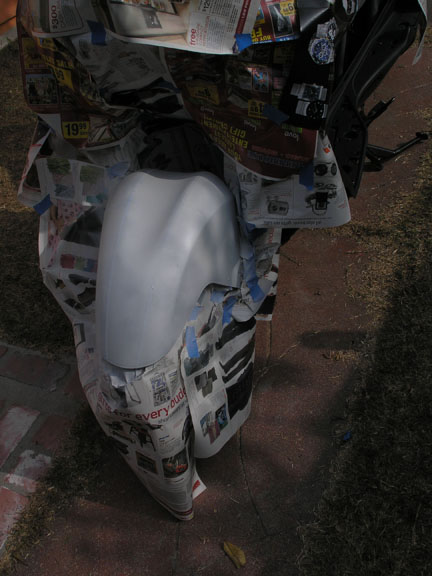
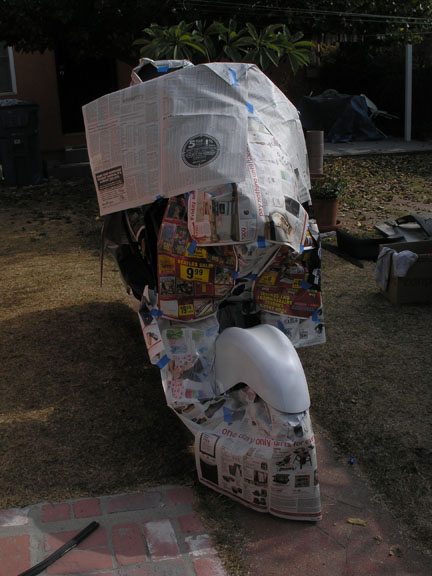
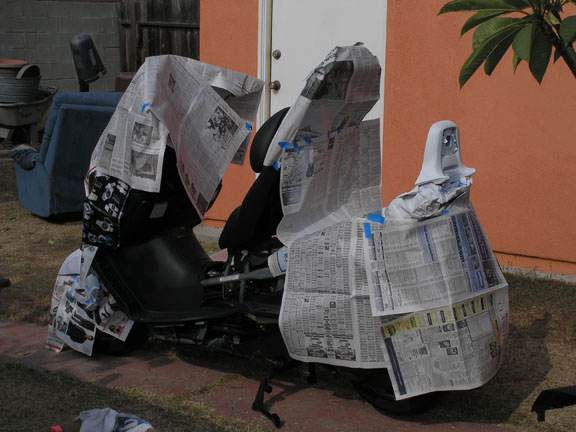
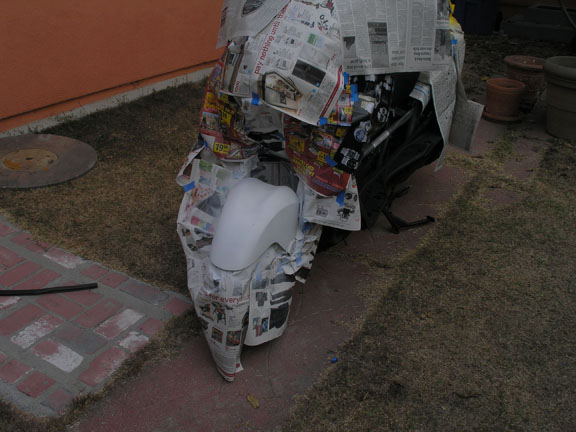
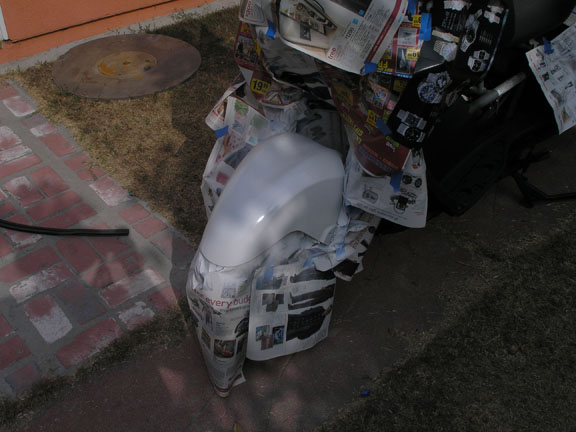
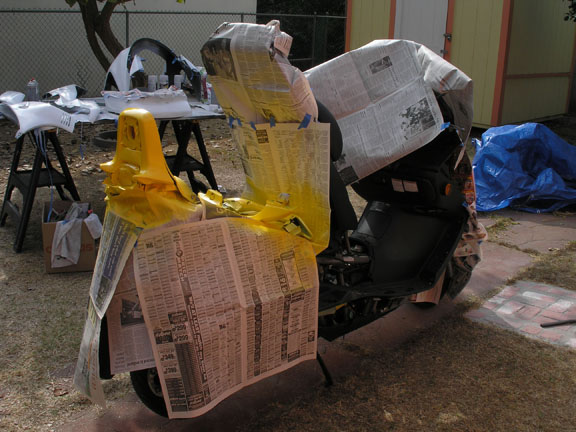
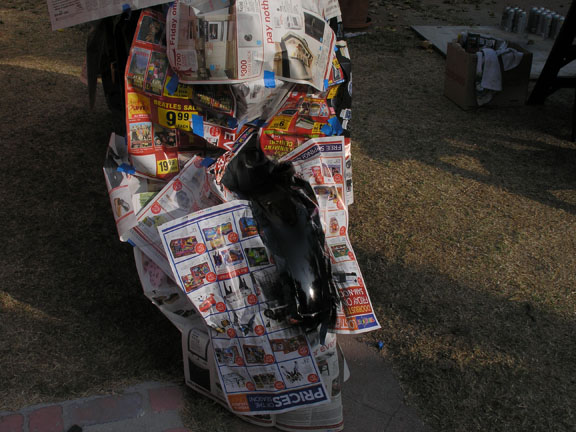
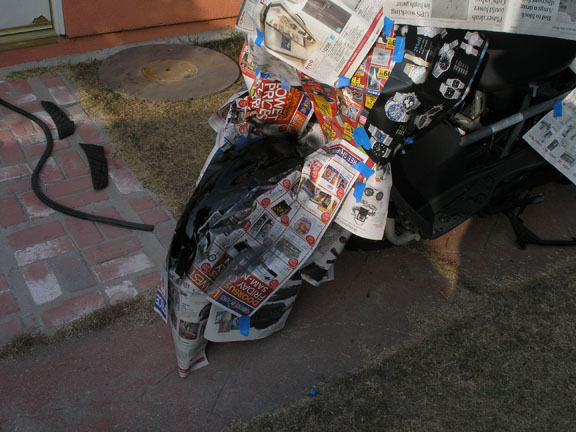
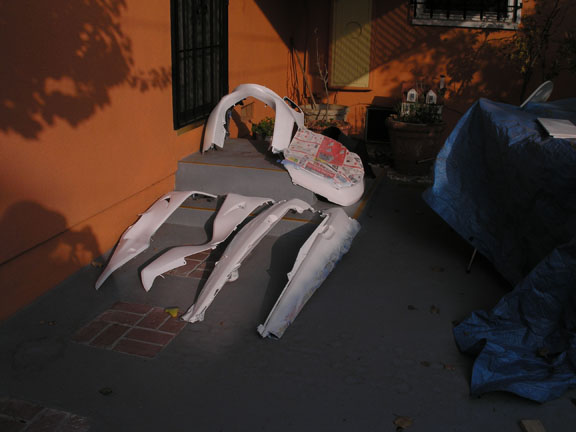
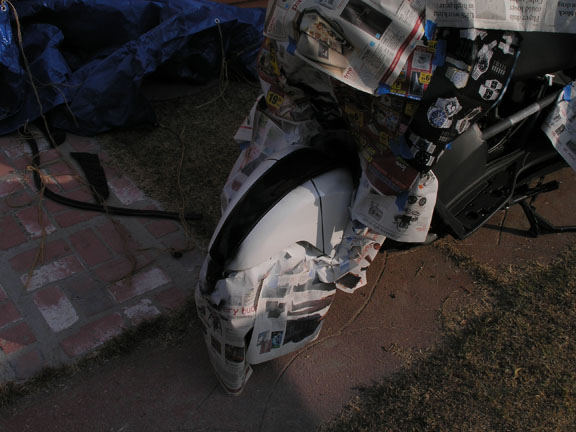
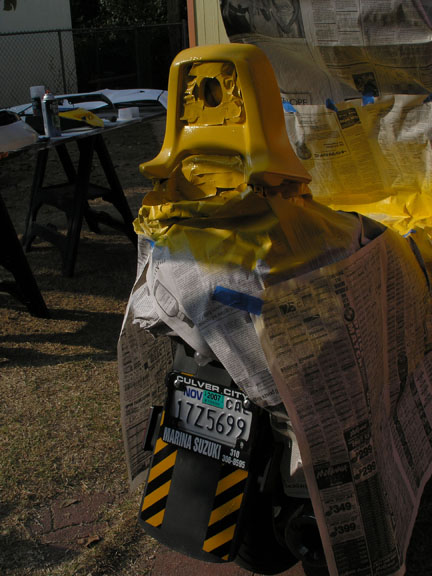
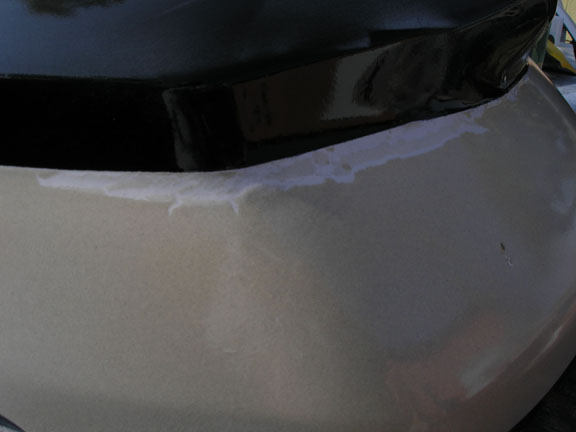
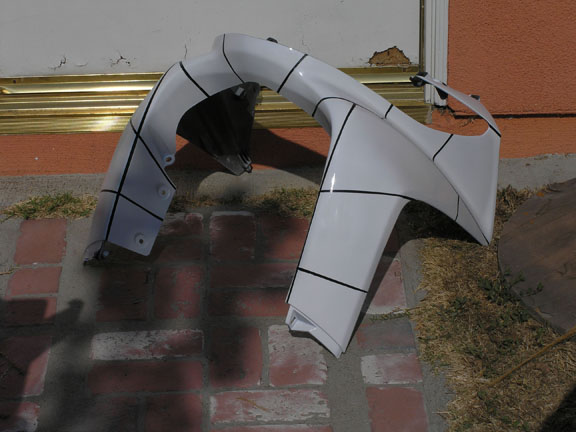
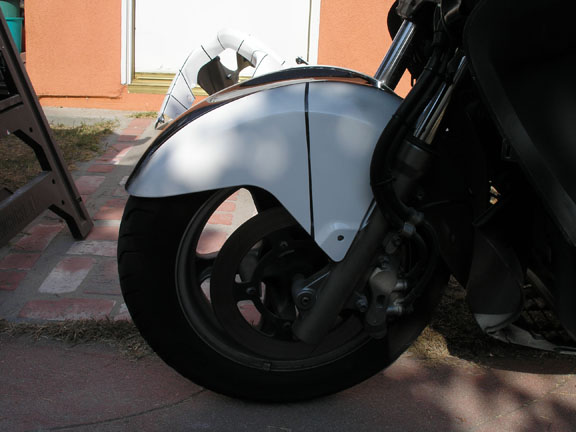
In order to remove the front fender, the entire front tire must be removed as well - a nightmare scenario. So I masked the entire bike with newspaper to protect it from this one small area. I was not tight enough on some seals, unfortunately, and very minor overspray occured.
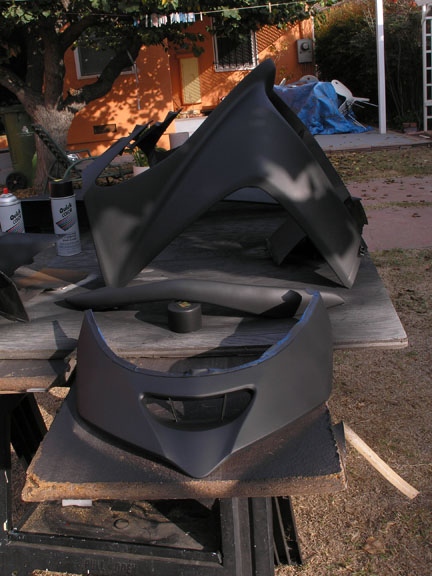
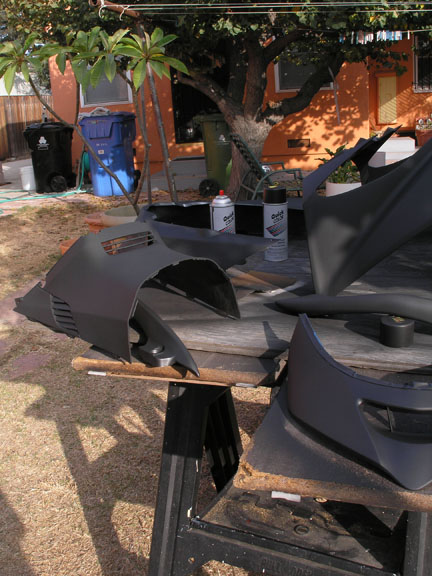
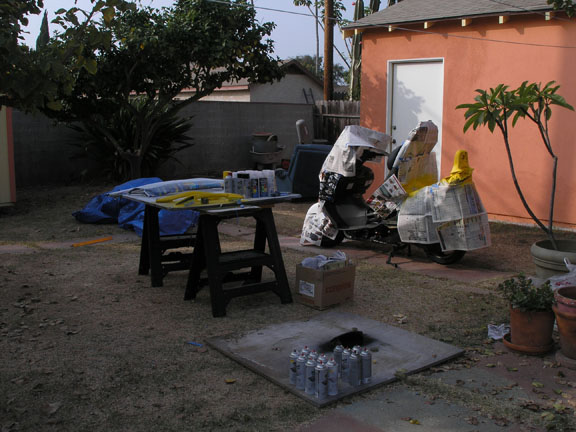
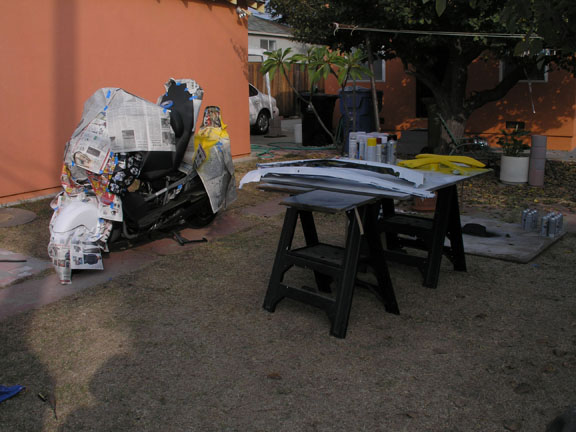
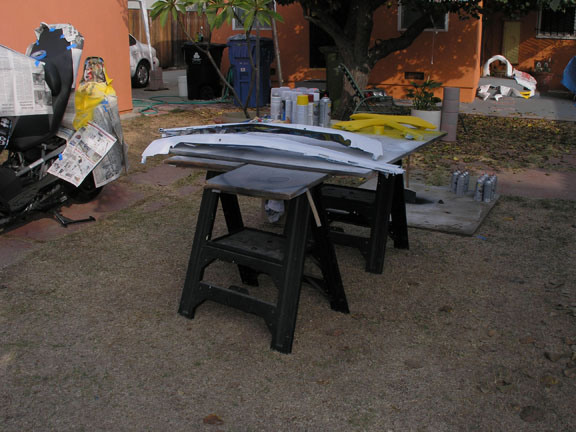
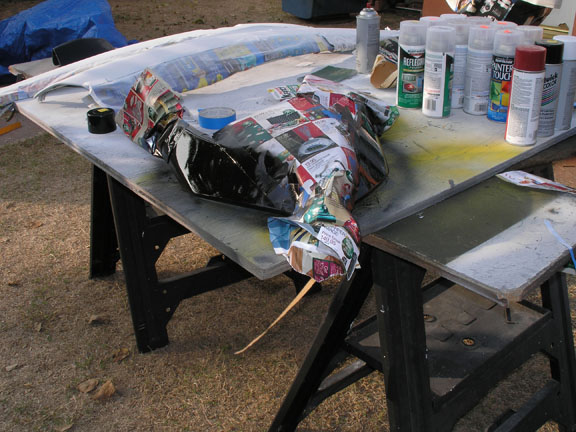
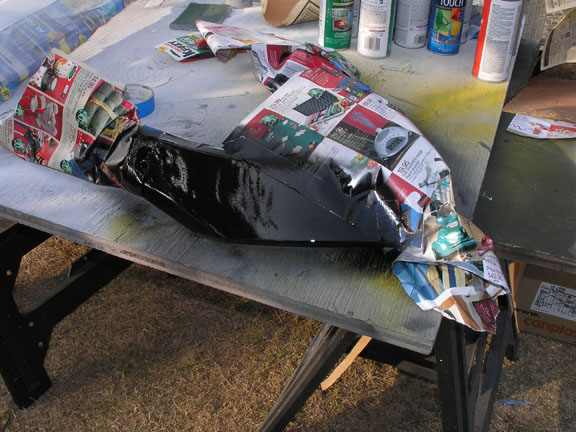
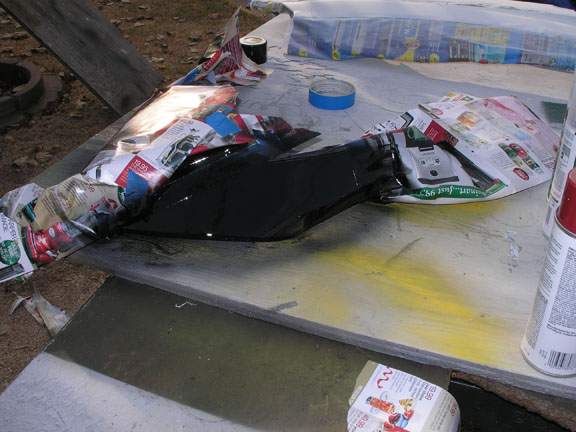
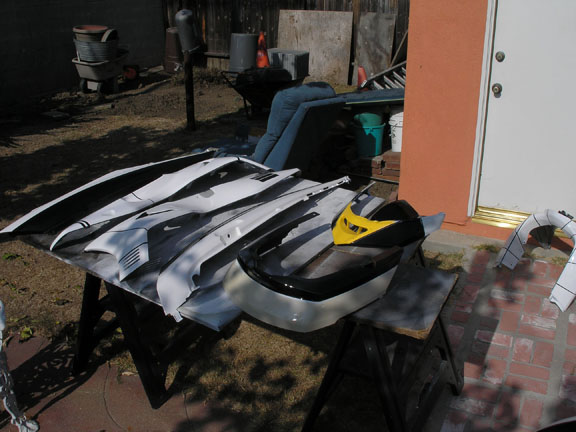
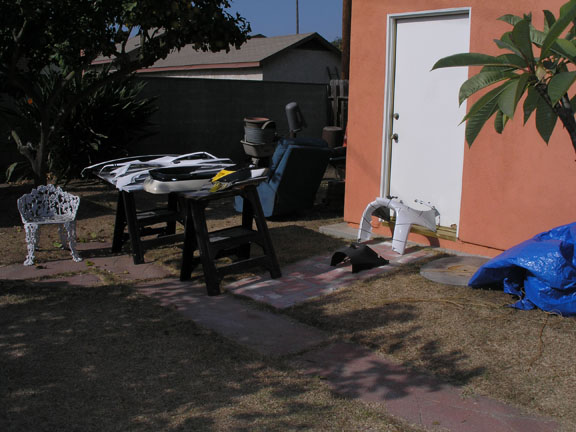
All the screws were taped together in groups, then taped to their nearest locations. The snap-tabs all went into the trunk. My workspace was a small backyard, utilizing two sawhorses, a pair of 1x6 planks across them, two, five-square-foot plywood boards and another 2 x 5 plywood board.
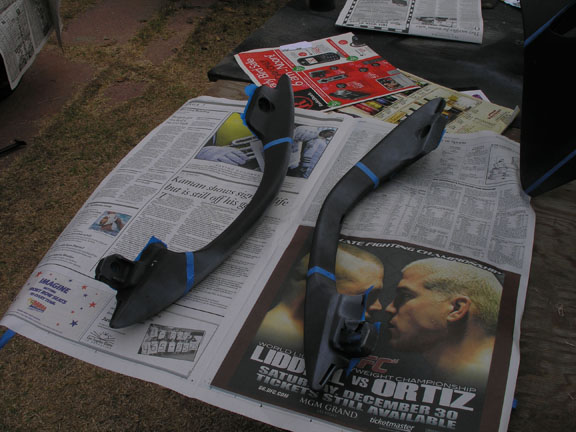
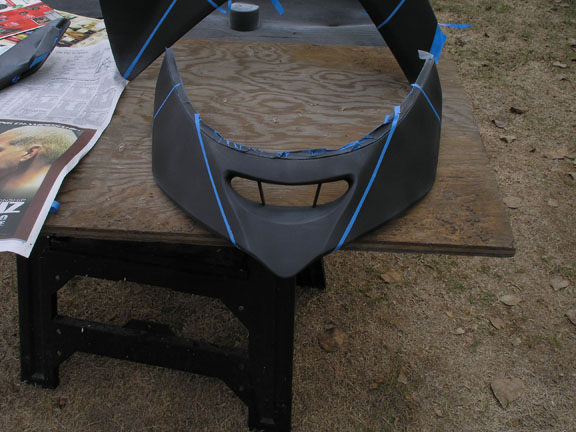
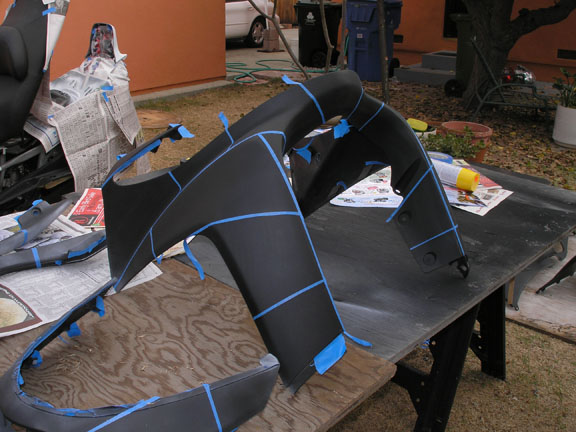
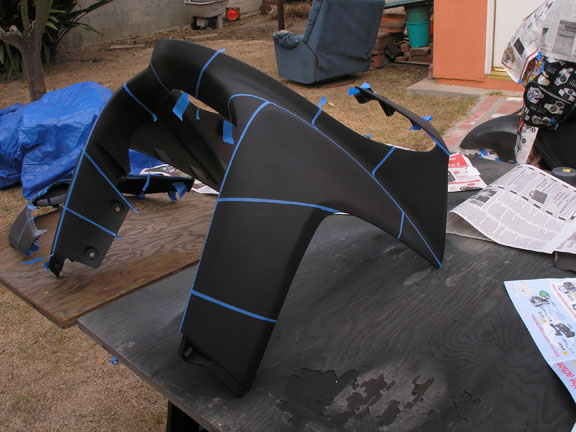
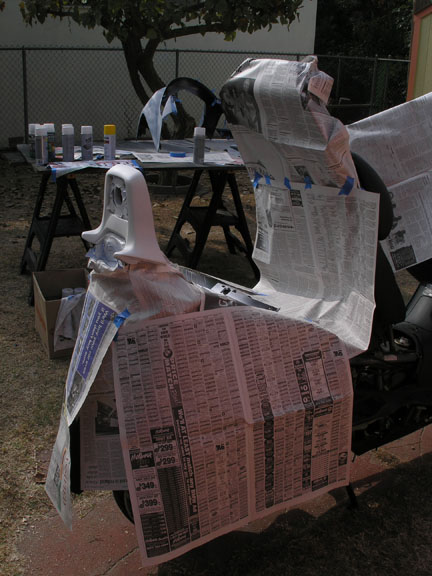
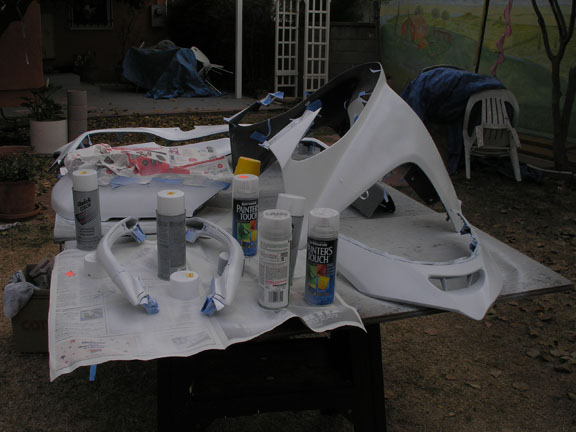
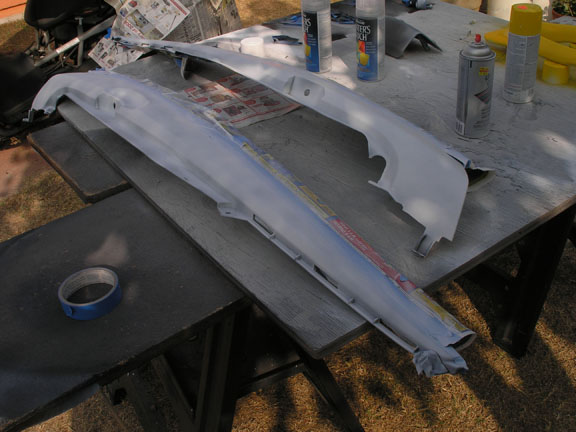
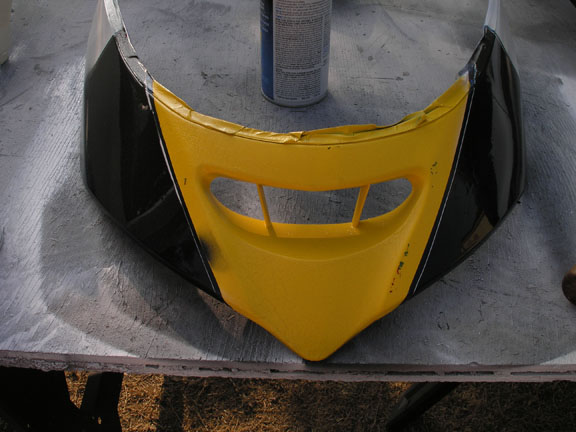
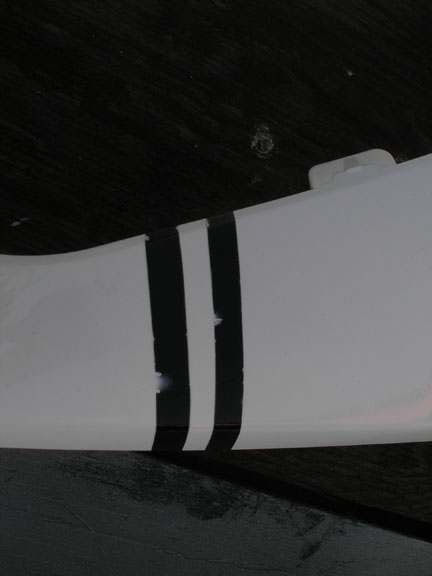
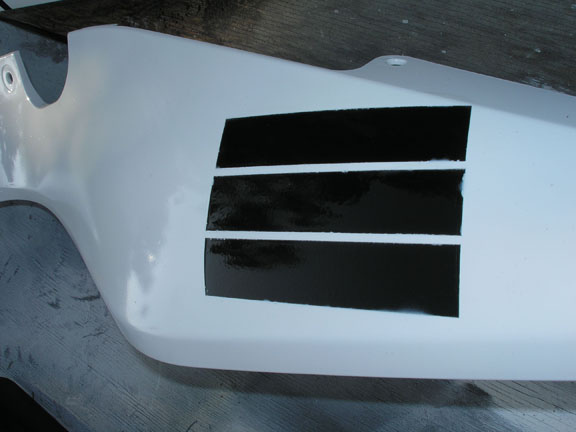
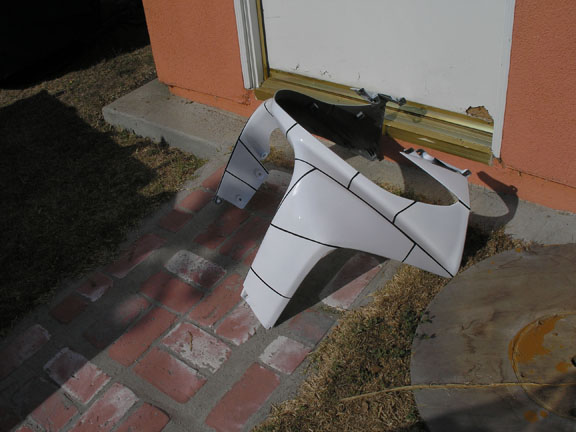
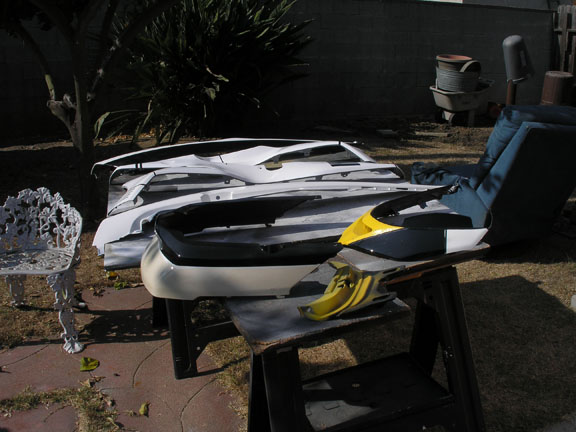
By 4pm, all pieces had several coats of black primer. My initial idea was to prime white and cut frisket paneling. I realized that would take many square yards of it, so I cut 3/4" blue masking tape by hand ( forgot to get the pinstripe tape before i pulled the bike apart, duh!) and trimmed that down from there. The panel lines, now that I am finished, are still too thick at nearly one third of an inch across. .2 inches is probably ideal.
Friday
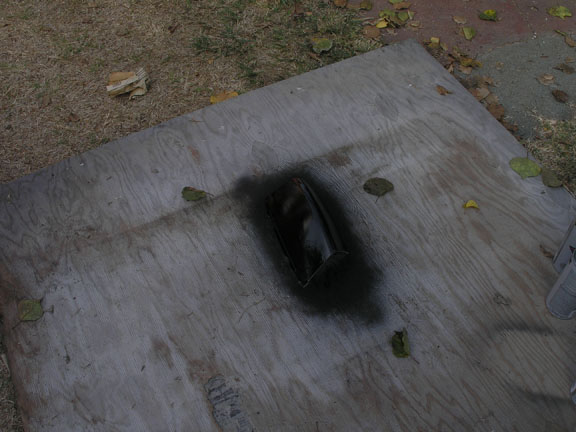
I left the bike and the panels exposed overnight to find them soaked with dew in the morning. I dried them off with a rag only to leave fiber from the rag stuck all over the surfaces. I got a Brillo pad and brushed all the pieces clean and quickly threw another balck coat down to hide the scrartches. Big problem over the course of production was that layers of pollen and such kept getting sandwich into every layer of paint.
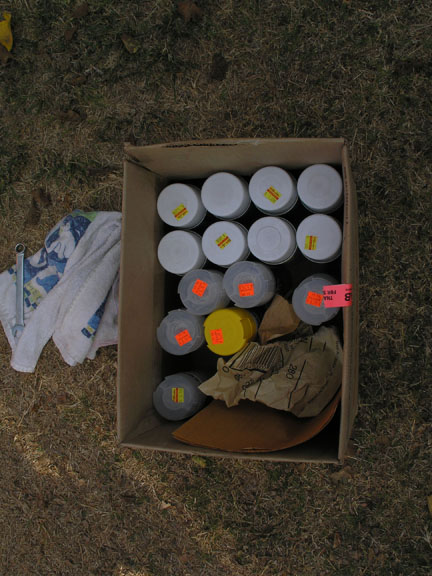
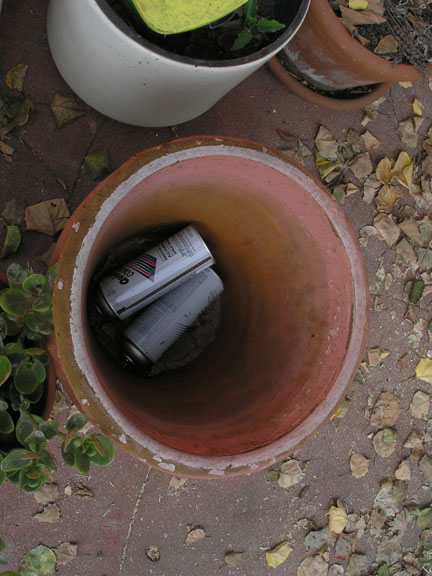
I left some cans exposed around the yard and the other ones in a cardboard box overnight. Keeping the paint in the box meant they stayed refrigerated, while the exposed cans he did with the morning sun as it rose. This was inconvenient as the cold cans needed a long time to ambient up to the rest of the world.
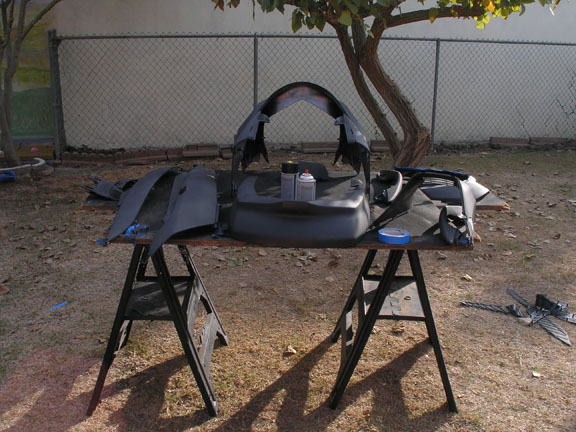
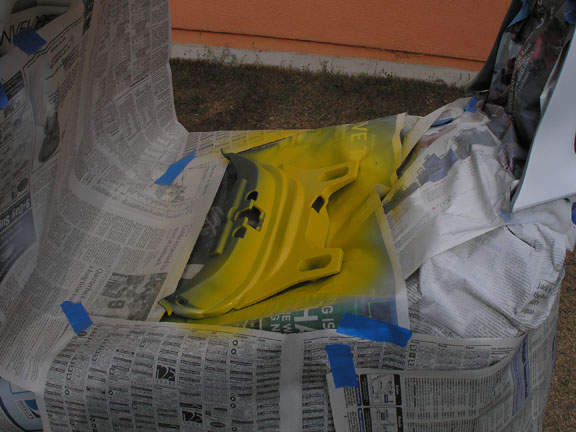
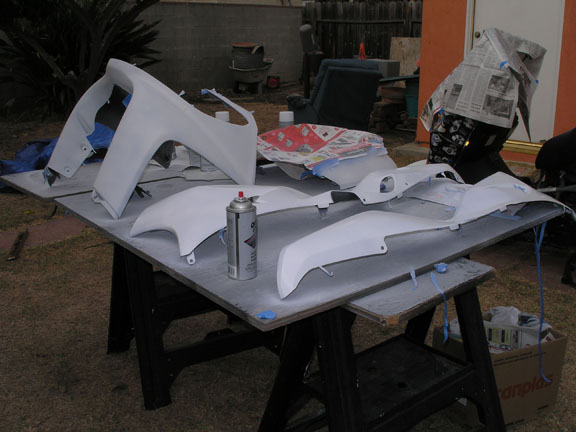
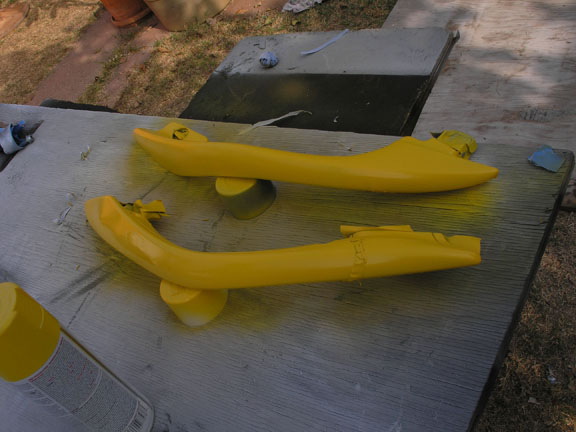
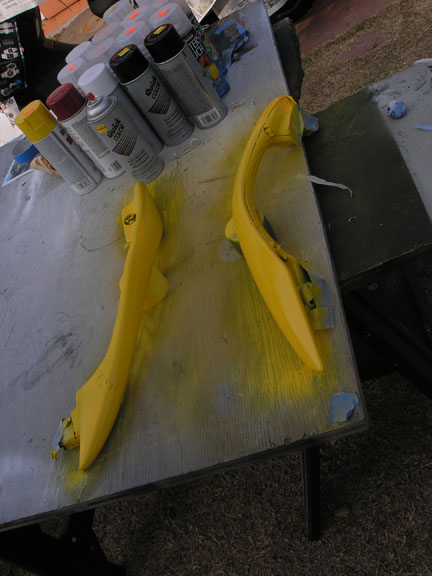
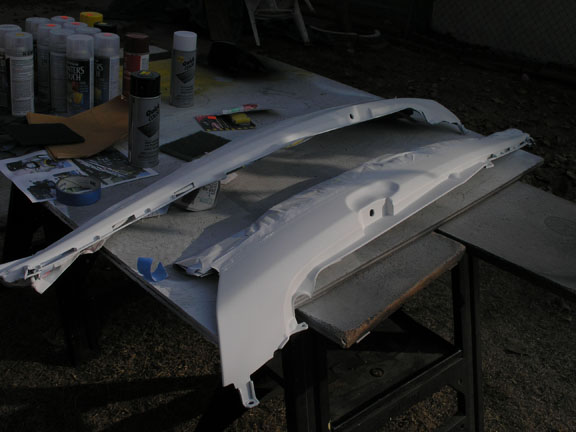
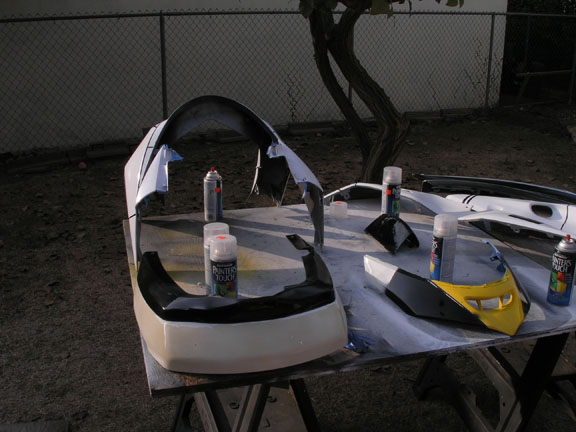
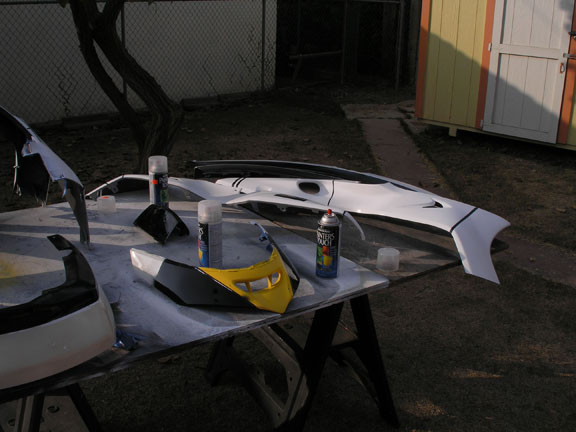
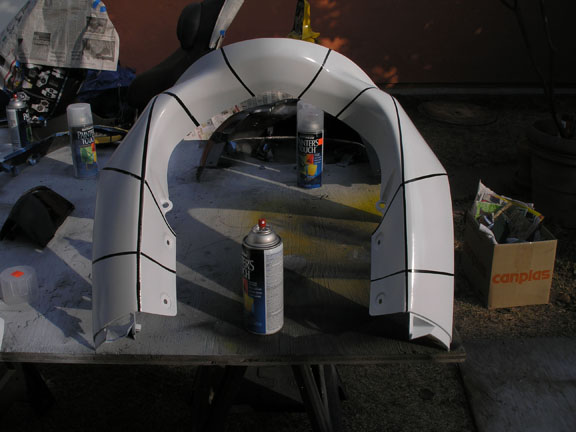
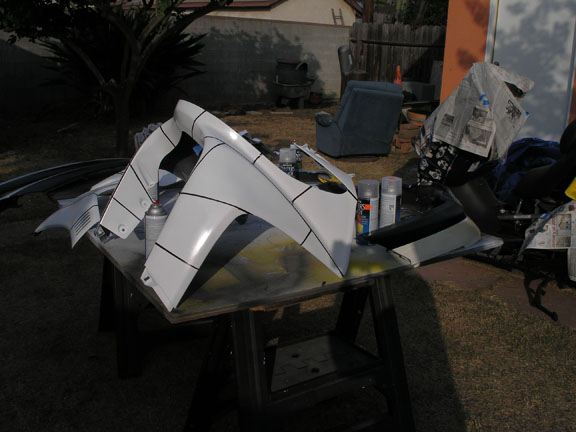
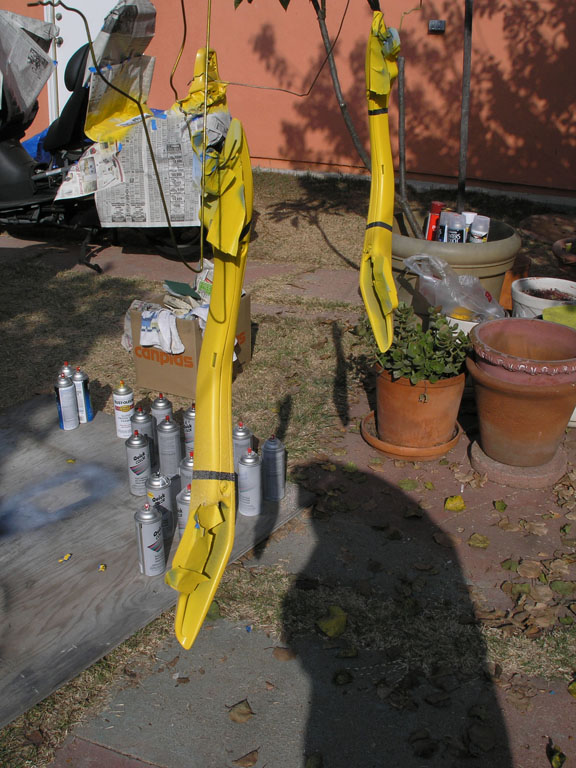
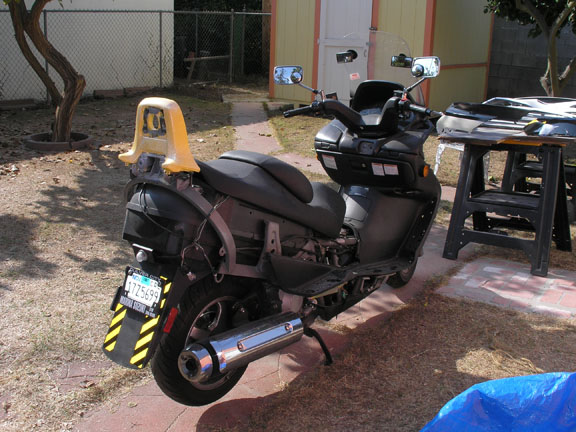
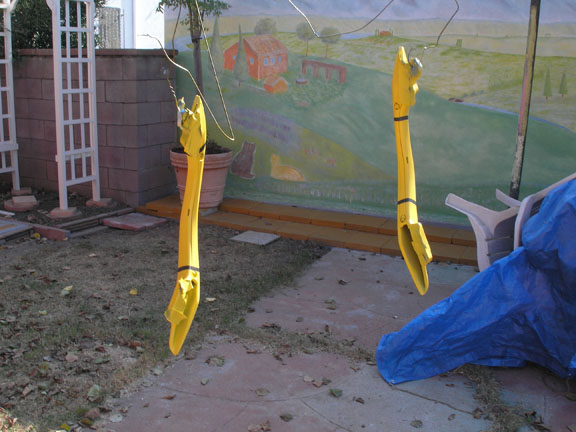
All that began around 7:30am. White painting began by 9 am. I started priming the rails white and realized I needed to pinstripe them first! So I stopped that and gave them another two black coats -delaying those pieces by several hours. The sidebars and back rail got two coats of white each, before spending the rest of the day getting yellowed.
I realized very quickly in the first few coats of white that there would be no time to do the logo work. Nevertheless, I persisted in the idea that I should get frisket for masking well into the early afternoon. It's good that none of the neighbors was around to drive me as it would have been a waste of money. On the other hand, it was very bad that none was around as I hadn't any pinstriping tape and there was none available within walking distance.
I frantically searched all the obvious places around the house for any and there was none. So, I came up with the idea of hand cutting the 3/4" tape that I did have. The results are still too thick, though the lines are generally straight. Overall, the look works well enough given the circumstances -for now. They will require re-doing.
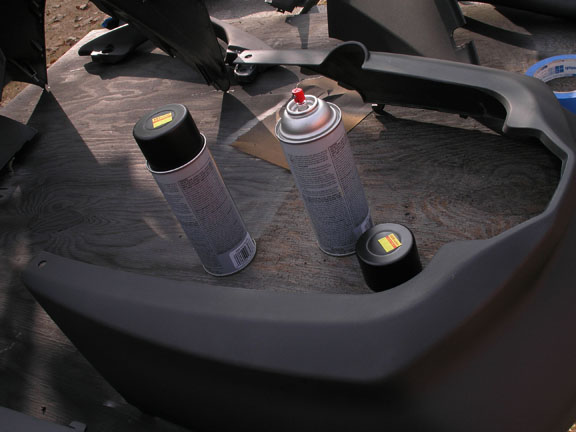
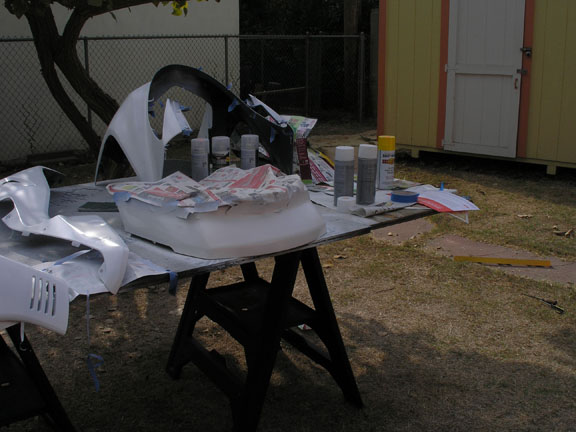
By 2 p.m., I was back at the store getting a few pickup cans of paint. One I didn't get, but should have, was yellow I spent another $25 on top of the $60 already.
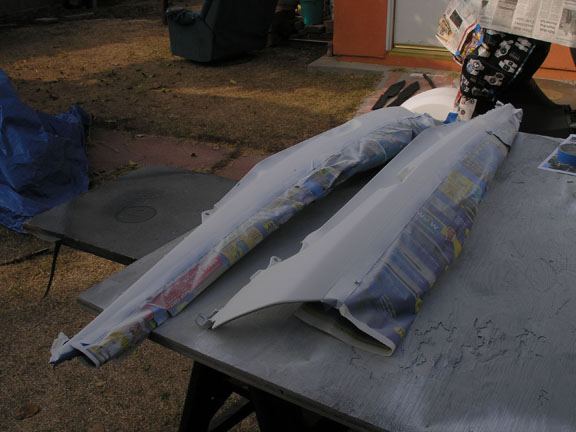
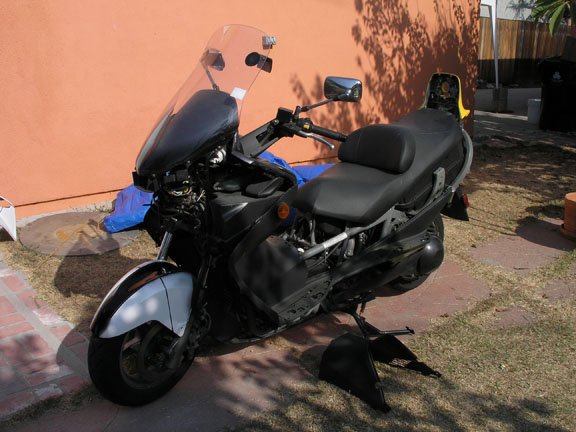
I wrapped up painting around 4 p.m. as it was beginning to get dark. This also gave some more time for the paint to dry. Just after sunset, I put a tarp over the bike and put the panels in the garage.
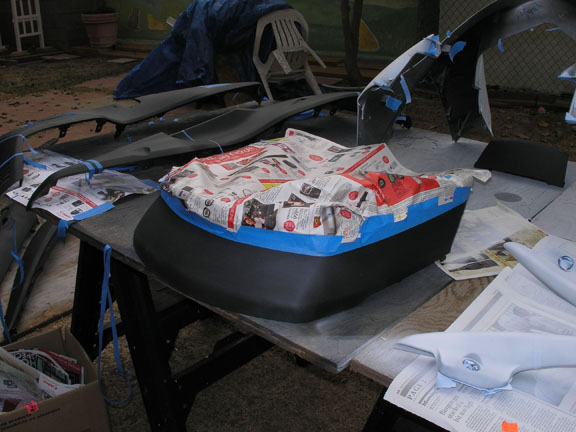
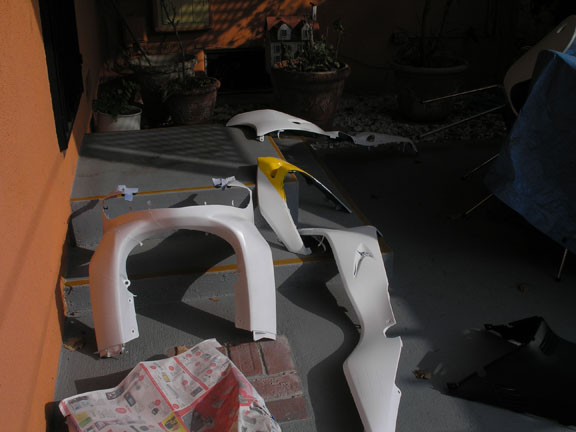
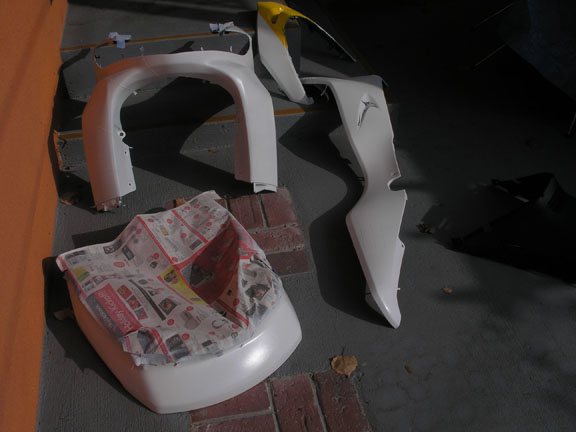
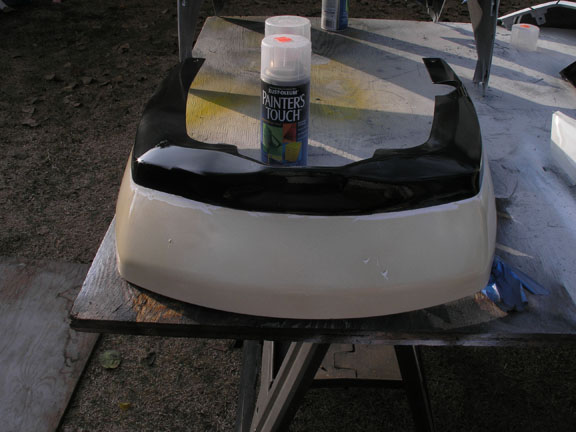
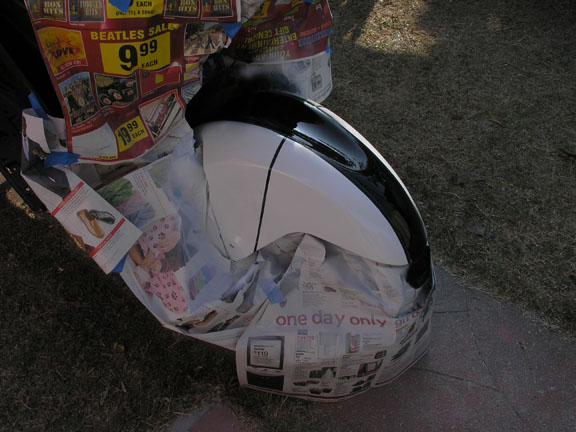
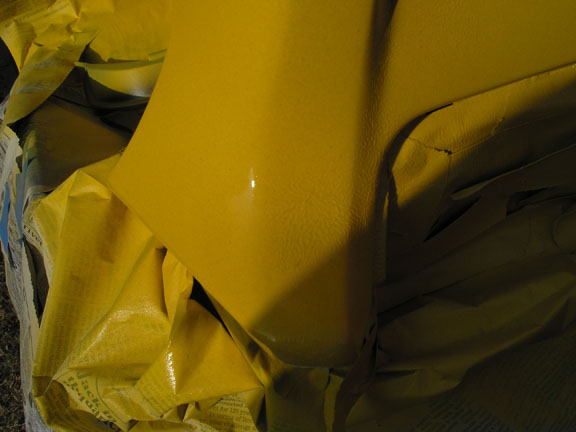
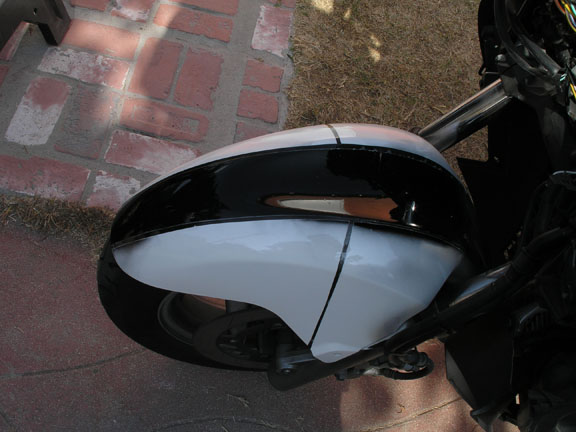
One of the last things I did was to apply a test coat of Reflec on the rear bumper and back rail. On the bumper, the stuff went on too thick and interacted with the still semi-wet white paint. On the yellow back rail, the paint textured into an interesting mottle (but that also occurred on the bikes 'Beak' with just sealer a day later). The white bumper didn't mottle, but it sagged at the edges and broke apart like an ice shelf. It also changed the color from white to cream. Overall, there were a couple of paint blobs, but I dealt with them effectively at this level/stage.
Saturday
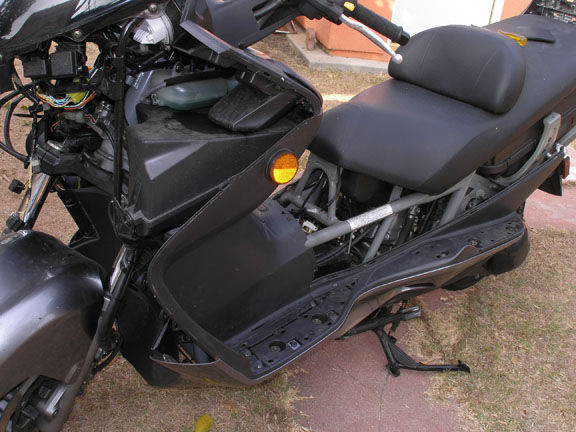
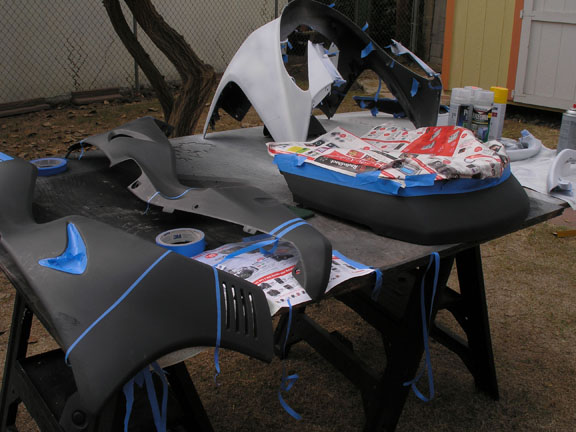
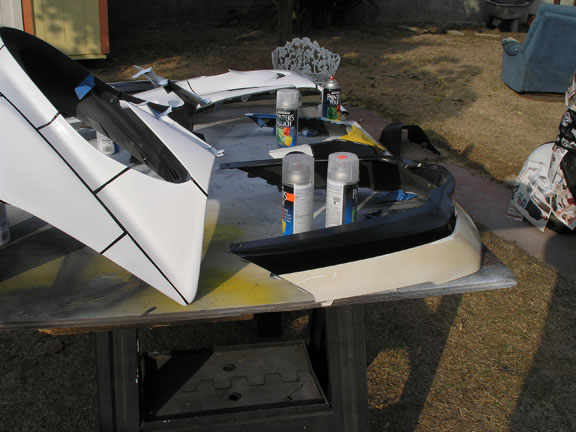
I moved the sawhorses for maximum sunlight all day long. Once all the pieces were laid out, I removed all the masking tape to reveal nice black panel lines. I left any hard points and screw holes taped until after the glossing process.
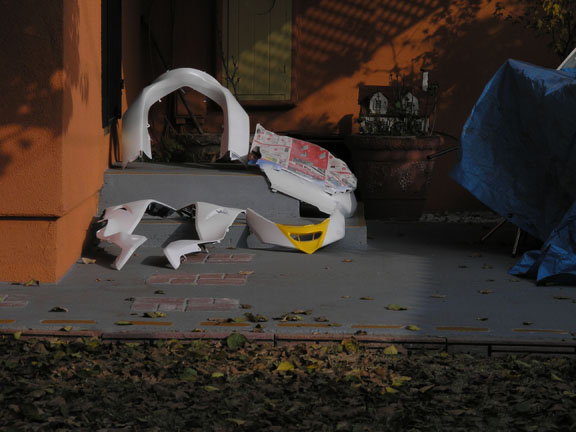
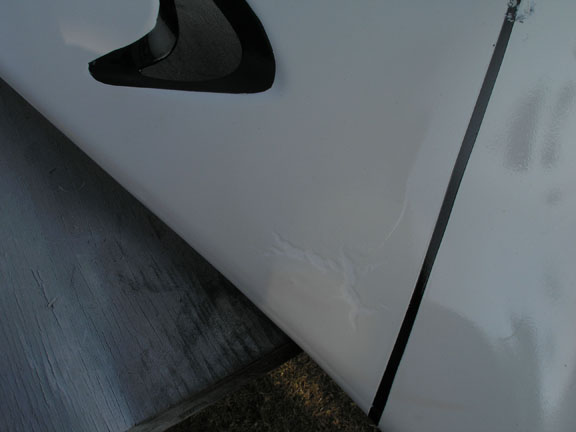
Overall, work went smoothly and effectively. There were three notable 'dings' in the paint that would have been better had they not occurred. However, in a few short weeks of road, the rest of the body will be ding'ed and dirtied up well enough to match.
Some spots were not effectively masked and overspray did occur. Notably on the front fender. On a side panel the paint buildup is obvious where there was tape on black and loose the newspaper next to it. It is a relatively minor error though. Also, overspray and leakage occurred on some pinstriping. It is easily repaired.
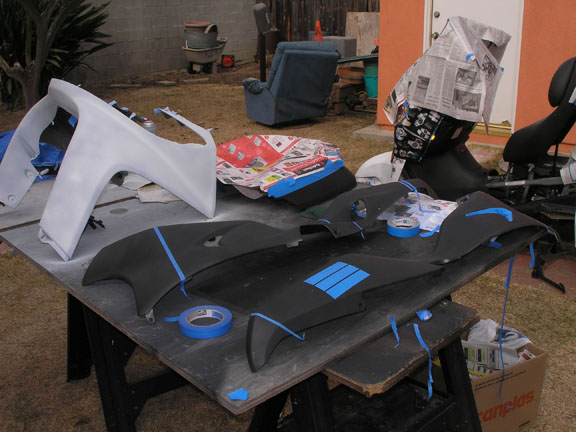
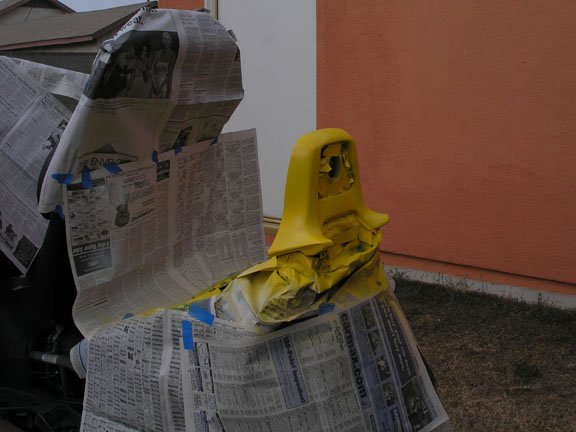
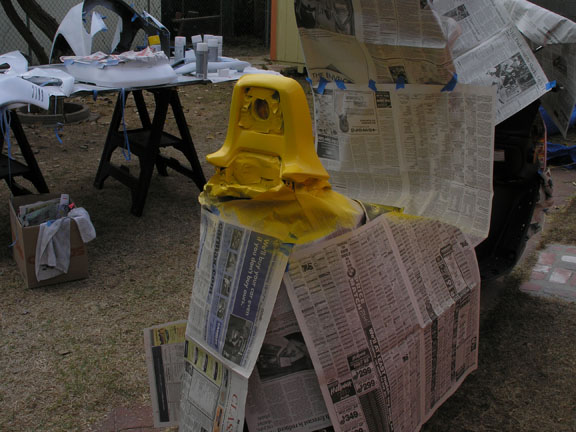
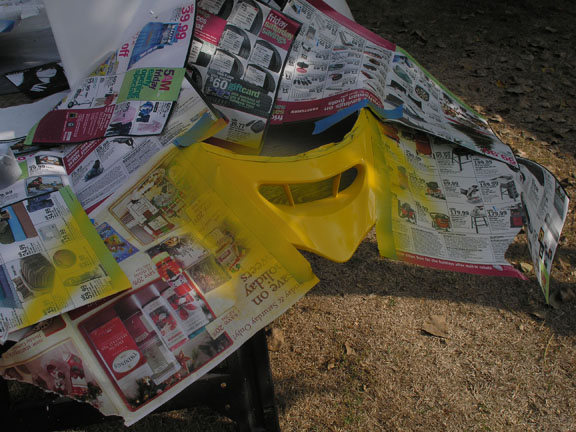
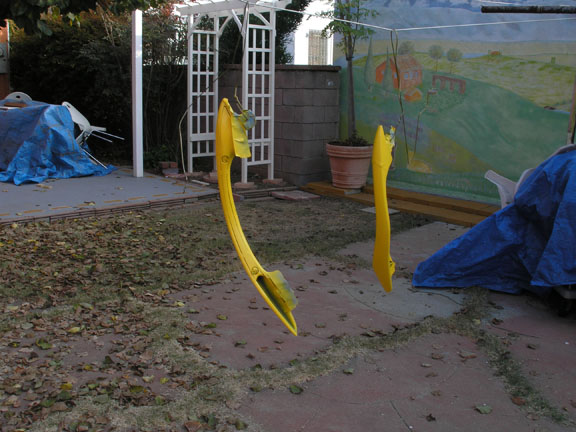
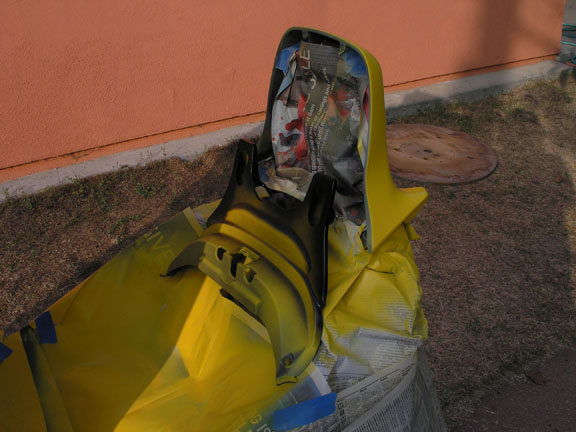
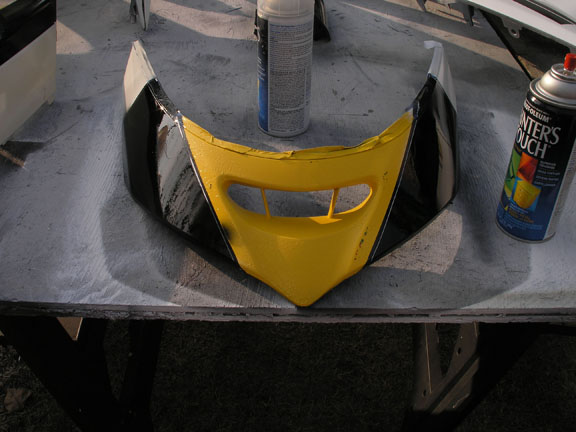
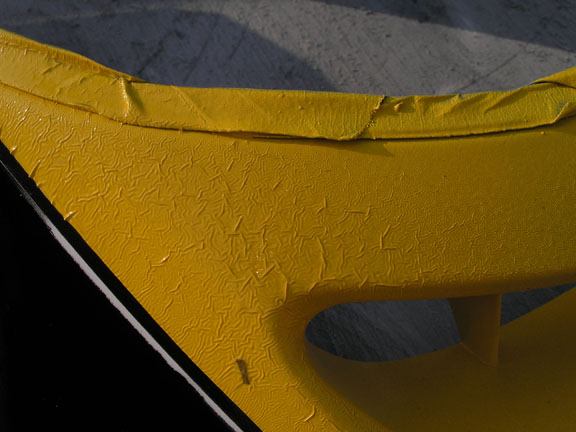
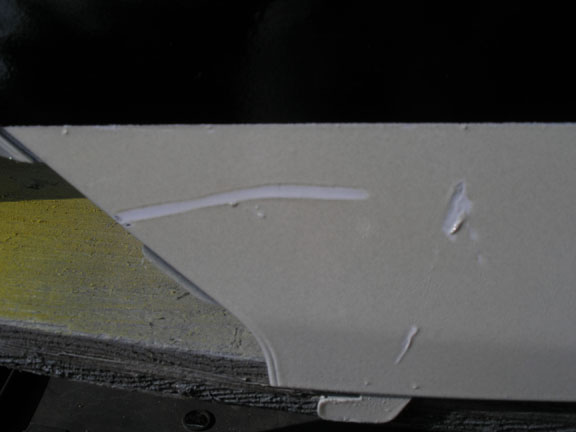
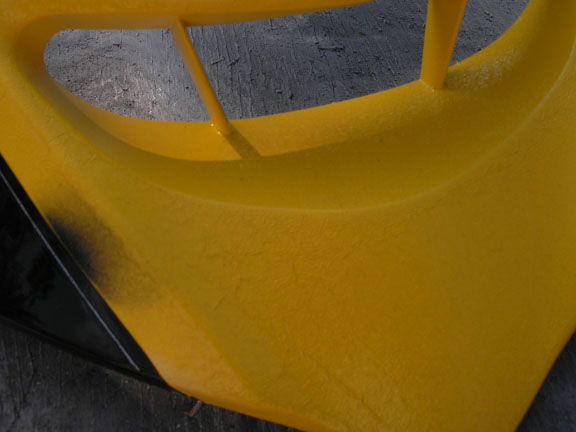
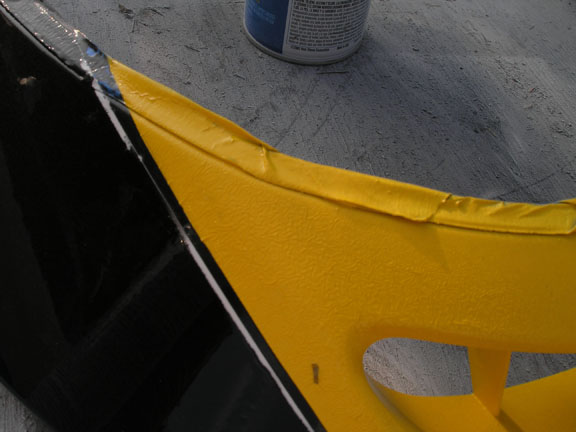
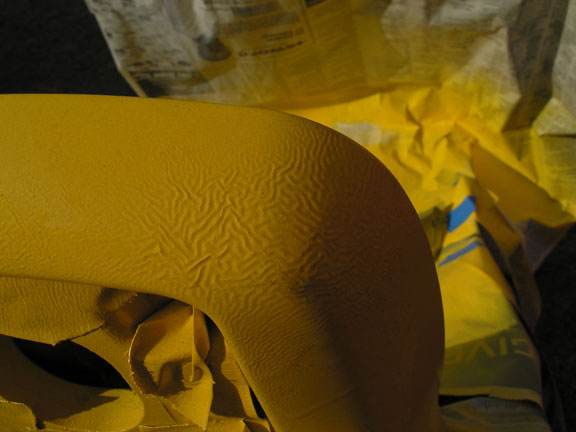
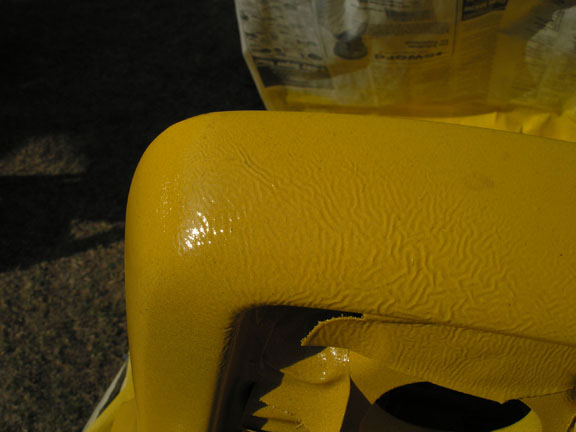
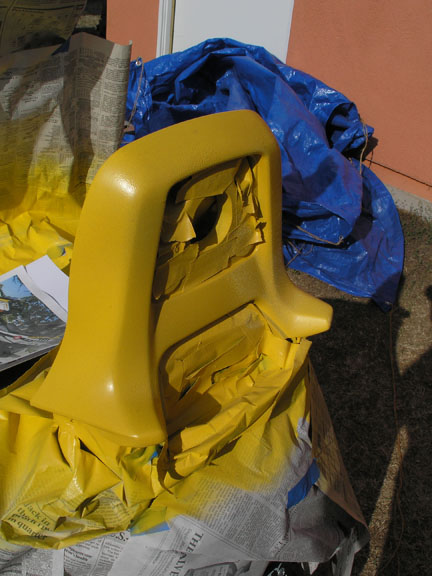
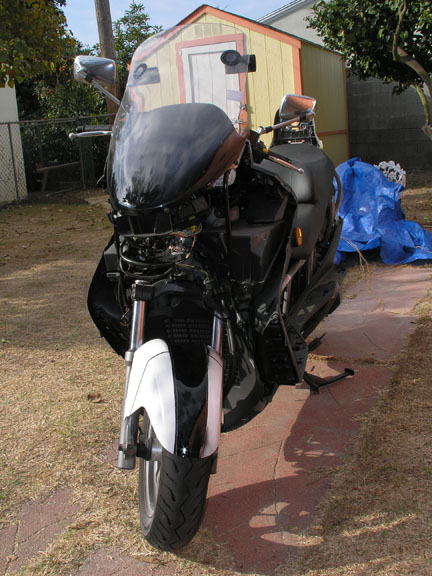
The big disappointment was the Beak. Originally painted all white, I decided on the yellow beak. Then decided on black sides. Not waiting long enough to let the yellow dry, I set newspaper on it for masking, and only for a minute, before I pulled it up again. However that was enough time and the newsprint became part of the paint job.
Another bad spot is one of the rails. It was hit with a newspaper in the wind and got stuck there. I never saw it happen. Removal is impossible. At some point, I decided to simply thick coat the problem and hoped to hide it. Once it was there, that was it. The end result: acceptable for now.
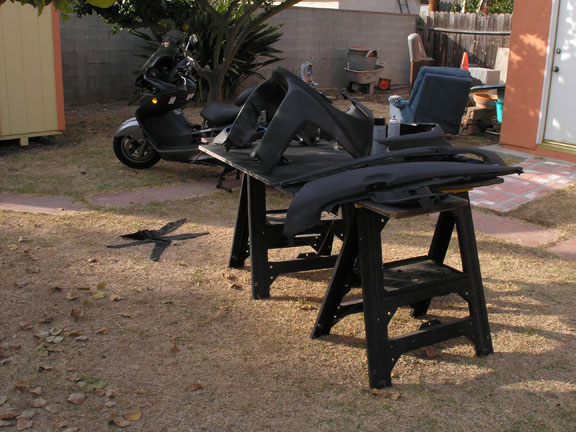
I finished all the gloss coats by 11 a.m. They cooked in the sun until I brought the pieces in around 430 and tarped the bike over.
The plan now is to let the panels cook in the morning sun and begin assembly in the later afternoon, so that all panels have the most time to dry as possible. Getting all the panels in the sun when I get up around 8am should give them a solid five hours more of cooking.
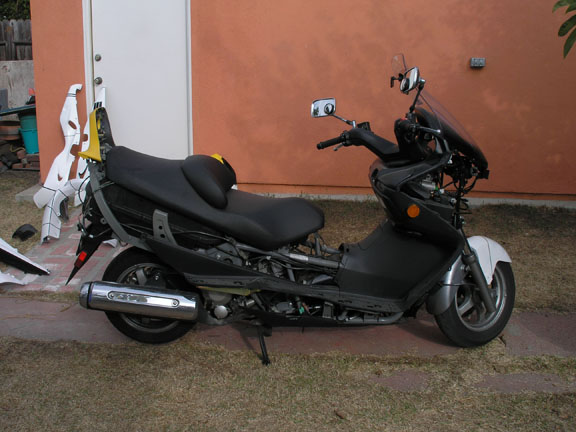
I'm expecting the assembly to be straightforward, although harrowing. But basically I'm confident that I can handle all problems.
It took less than an hour to disassemble. I figure up to three hours to slap it back together, what with test fitting pieces, counting screws, managing the snap plugs and so on. But that will be the worst of it.
I realized early on day two as I'm taping the panels up, that there was no possible way I was going to do any of the logo work. So work forged ahead.
New Plan:
Thursday -- Black primer/base coat
Friday -- White over coat
Saturday -- Gloss sealer
Sunday -- Assembly.
So, this weekend's paint job became the foundation layer. The base upon which to spring later on. Initially, phase 2 was simply about logos. Now it also includes paint repairs from this Phase 1.
Phase 2 To Do:
1 -- Fix overspray
2 -- Re-pinstripe the paneling
3 -- Sand all blobs
4 -- Patch all grooves and sand.
5 -- Touchups on bad spots.
6 -- 'Ambient Occlusion' and Dirt Passes.
7 -- Logos
8 -- Reseal
I'm hoping Phase 2 can be done without disassembly. If it is needed, then I could break it into a Phase 3. Otherwise, it all has to be done in one more push. Perhaps another four-day weekend.
Day 1 -- Disassembly, cleaning, masking, painting, cut masks at night.
Day 2 -- New masks, painting, tertiary masks?
Day 3 -- Seal
Day 4 -- Reassembly
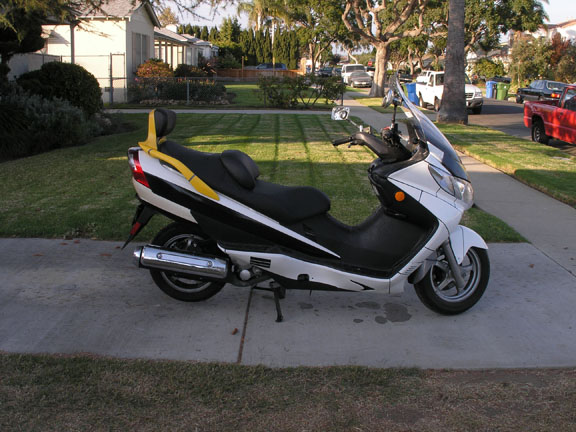
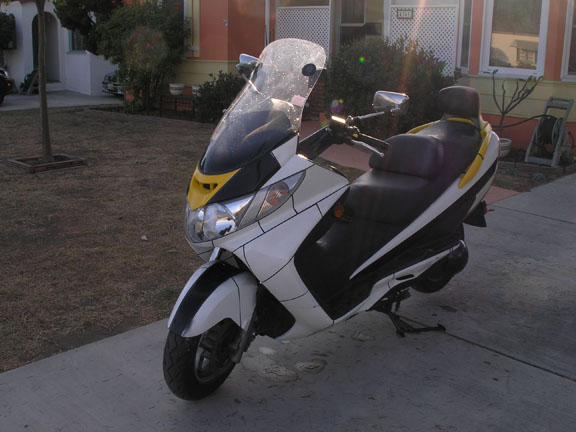
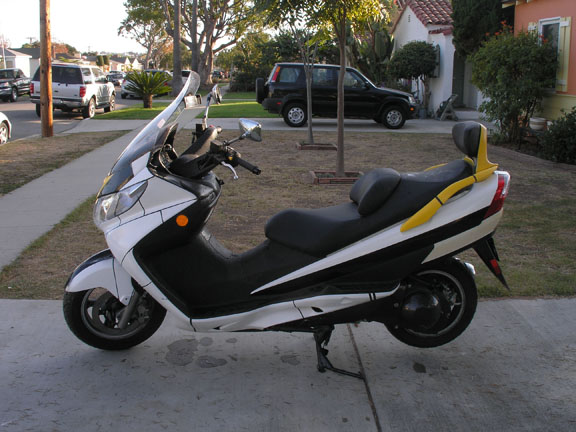
Colors -- yellow, red, black, white.
Side Details:
I recently bought some Robotech models. I scanned all the decals at 600 dpi, then saved raw masters and clean versions. I further cut off all the appropriate logos I needed and sorted and trimmed them into one master sheet for the bike. From here, these will be used as master transfers for the stencils I need for the bike.
Next step is real-world measurements of the bike. Resize the decals to that and cut the stencils. I will use clear contact paper so that I can see through it and get exact placement of all logos.
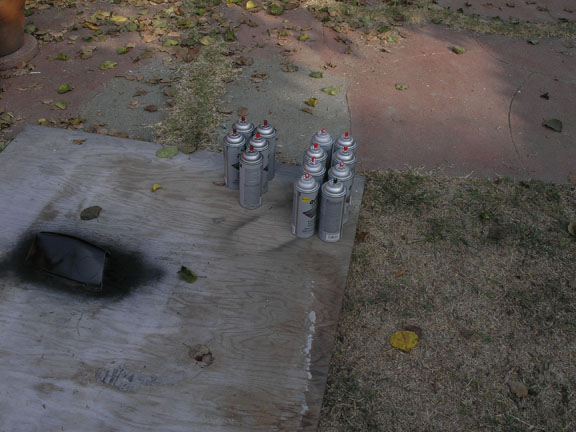
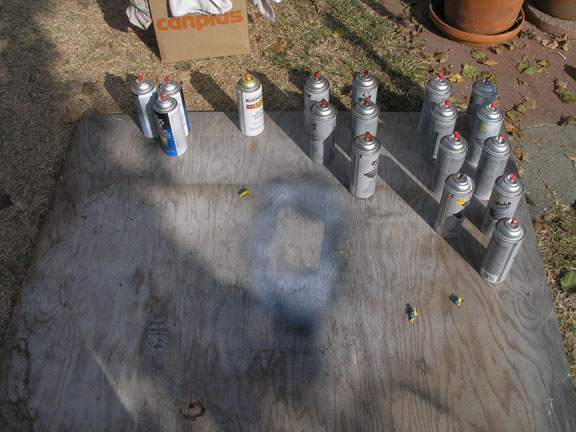
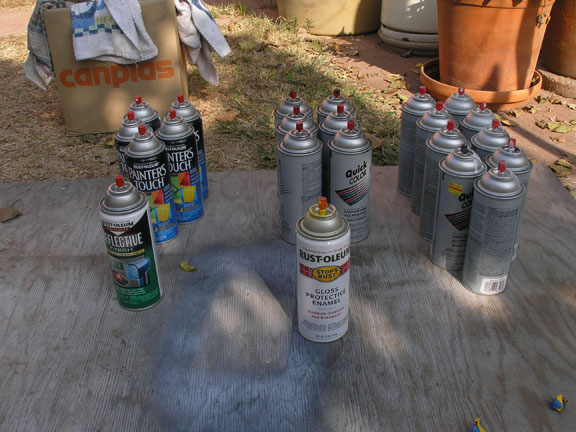
Total paint used:
Nine cans White
Six Black
One Yellow
One 'Reflec'
Eight Gloss clear
I used the standard (and mostly the cheapest possible) spray paint I could get from the hardware store down the street. ( I later discovered that a national chain sells white and black spray paint for 99 cents each!!! -as opposed to the $1.70 I had paid down the street)
I also used:
Five sheets of sandpaper
Two Brillo pads
Two full rolls of 3/4" Blue tape
Two razor blades
and
One full newspaper
Total coats of paint:
Black, three to four coats
White, five to six coats
Yellow, three to four coats
Reflec, two to three coats
Gloss, three to five coats
Approximately 20 coats total
Stay tuned for Phase 2 -Touchups and Logos...