Phase 2B.
June 30, 2007
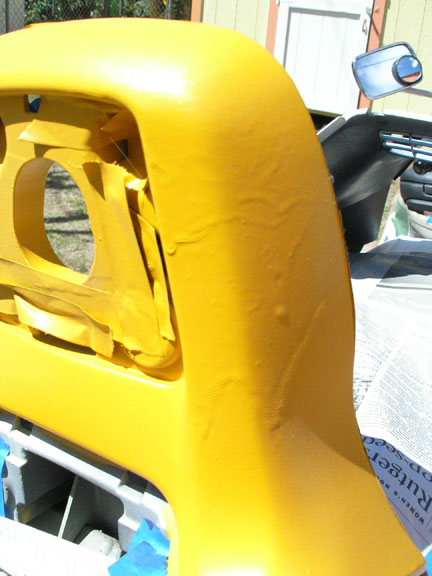
I now need only wash the body off and throw a quick gloss sealer over the new paint to complete this session's work.
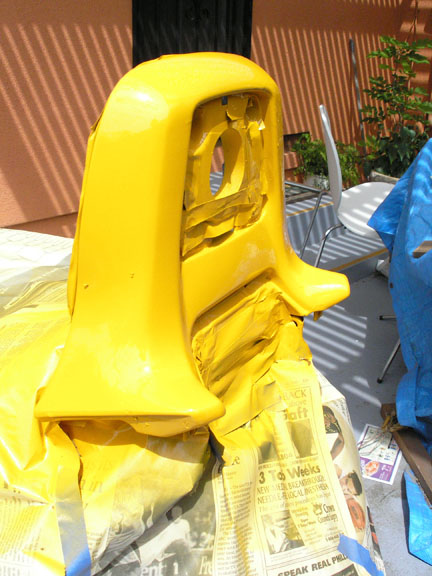
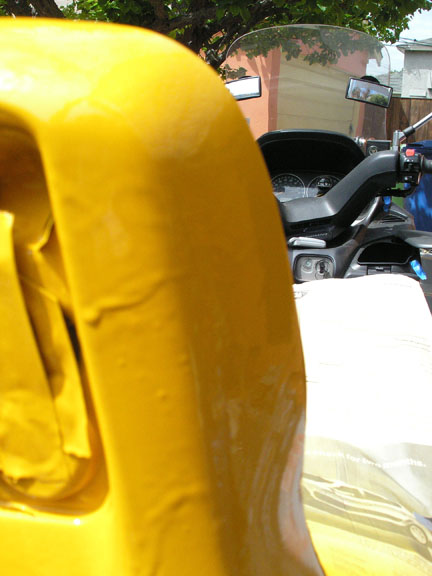
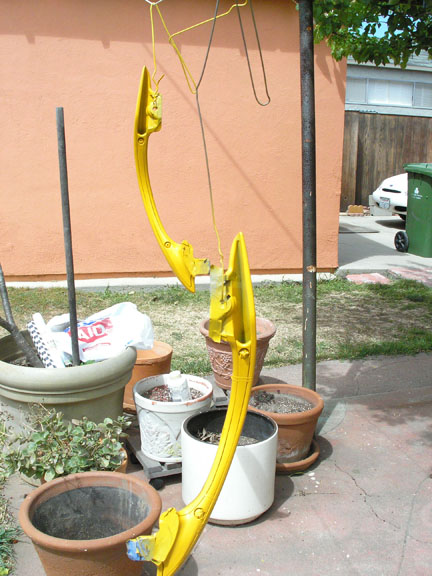
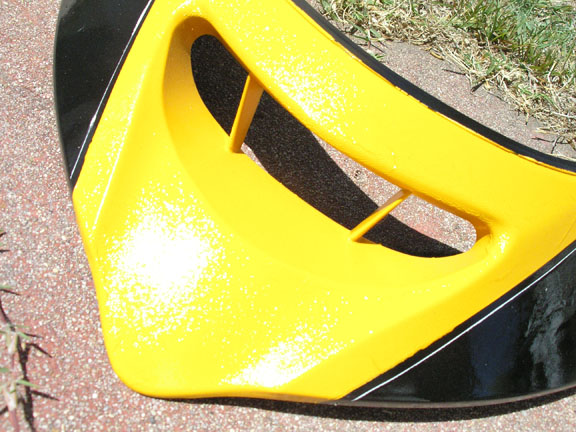
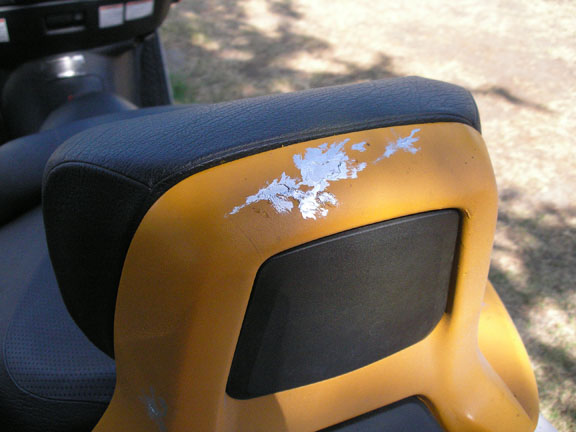
Did the touchups today, took a couple dozen pix and posted them here. Addtional work is to paint the minor yellow logos mentioned in the following post.
I want to do the whole thing over. These past paint sessions have been great learning experiences. Now it's time to start from scartch and do it for real!
I want to get a white car so I can paint the XD-1 Discovery on her. Put Hal 9000's eye at the doorway and the dashboard too. No ones' done that yet.
June 23,
2007
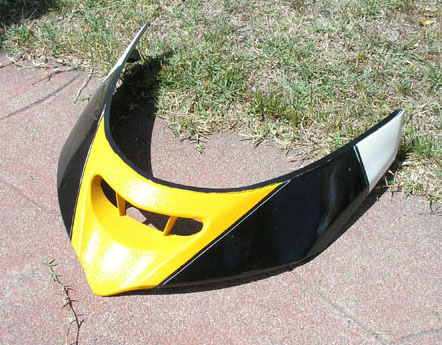
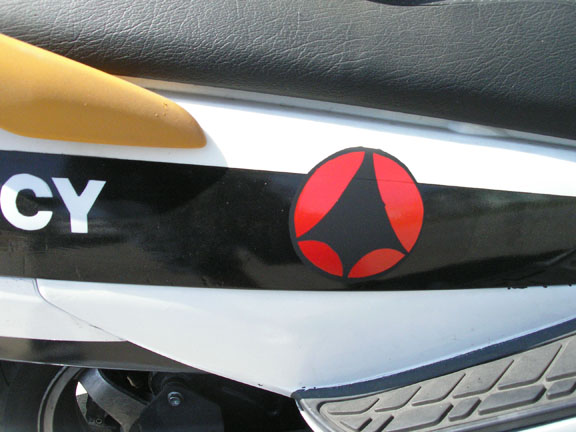
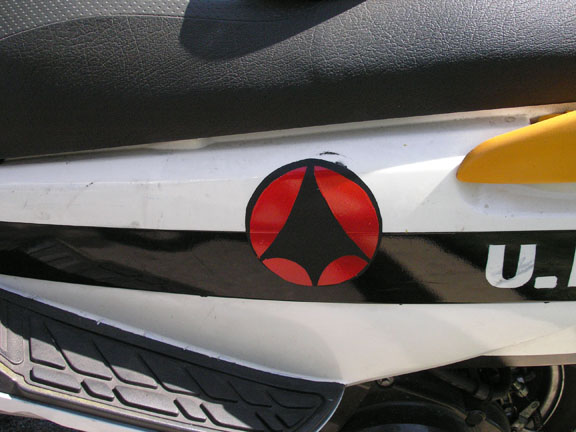
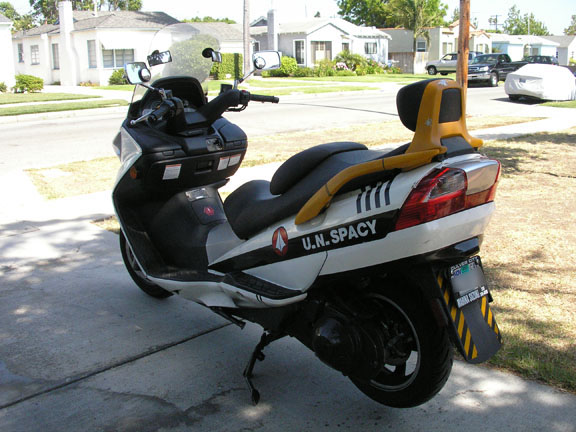
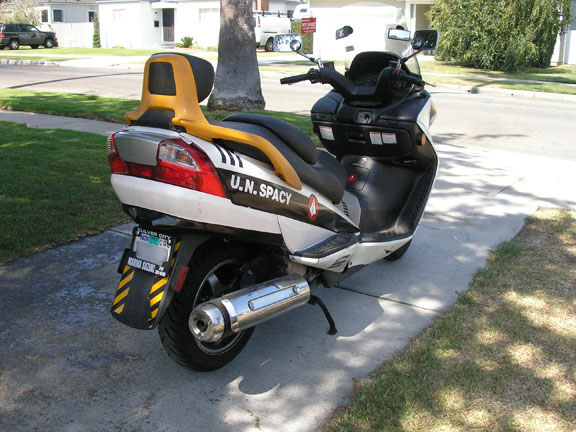
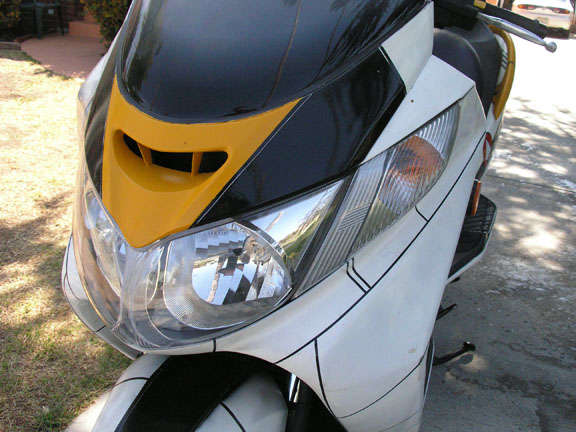
Added the Macross Diamond logos, though they will need some touchups. The lesson learned? Never reuse a stencil, always cut a new one every time! And shut the wind off before proceeding!
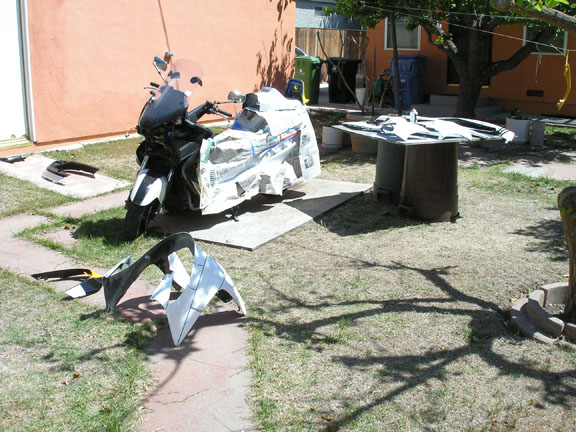
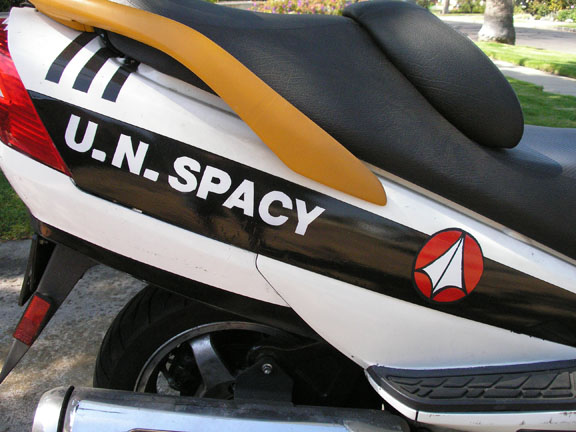
Spent an afternoon cutting the Macross logo stencils for the side, (blk, red white) and threw them down over a week's time. Black master circle one day, wait a day, red outer filier, wait a day, white diamonds, wait a day.
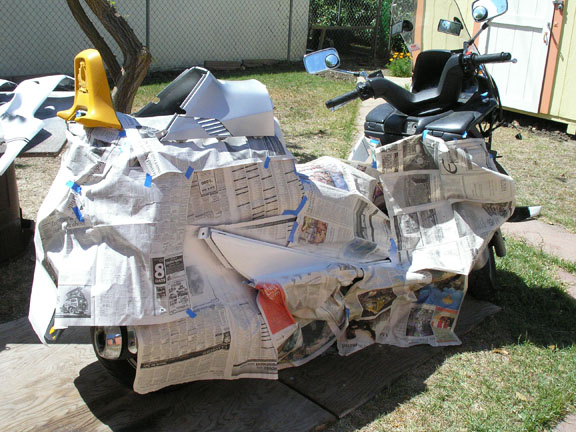
The major killer was super wind all week long, no respite whatsoever! This was bad. Very bad. It made the paint fly in all sorts of directions (except straight ahead) and the newspapers I used to protect the bike fly everywhere all the time. Very difficult situation.
And, from the 'I'm and idiot department'... I cut one black circle for both sides. The first went on nice, the second was a little dirty cos the paint was still wet on the stencil when I tried to smack it down tight, thus smudging wet paint around the place where it shouldn't be (some touchups needed ). Decided then to cut individual stencils everytime. Did it for the red and it came out great. Didn't do it for the white...
The first white diamond went on nice, except for some minor overspray from a loose application on one corner -though easily fixed. To 'save time', I let that stencil dry a few hours (time to cut new stencil: 10 mins) and went back to the far side of the bike a few hours later. Letting the stencil dry was the good idea on top of the inherently bad idea.
The problem was this: I used clear contact paper to cut the stencils from -thus allowing me to see through the stencil and get the placement perfect (good idea).
However, with white paint all over the clear contact paper, I couldn't see through it anymore (duh). I had to guess the alignment (bad idea). And I guessed wrong (I blame the wind for pissing me off so much) . The top diamond point hit the mark, the bottom is offset to the left though. More fixing to do. But then a fast gloss sealer and done for now.
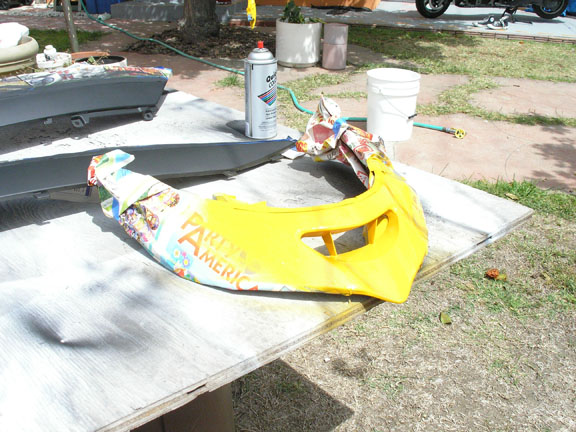
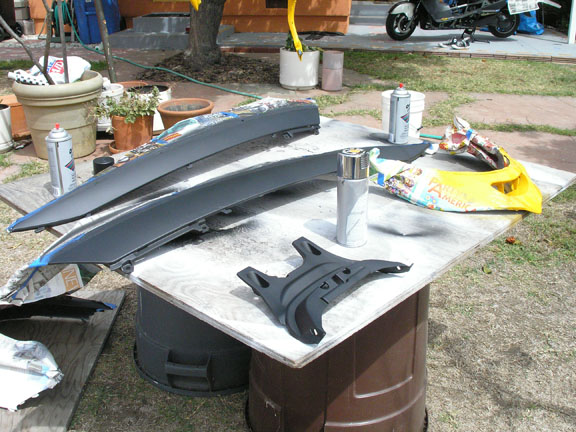
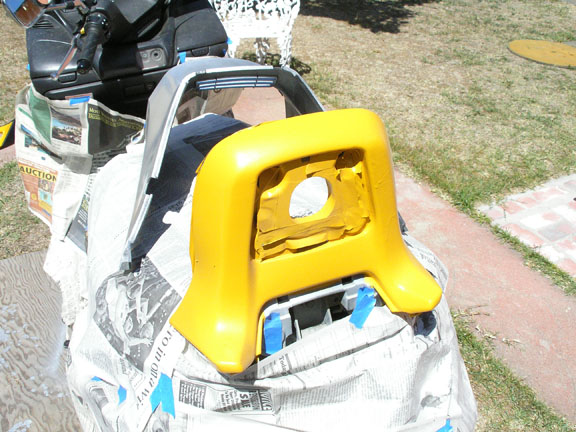
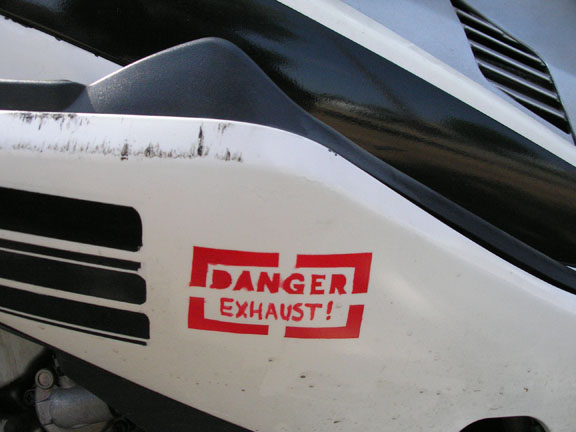
That leaves the yellow logos -escape hatch arrows, caution signs and so on. I'm still considering nose art, even though it is bombers, not fighters, that have nose art. Fighters get tail art, but this bike has little tail to art up. That will be done with an airbrush. The leading motif candidate is, you guessed it, a Valkyrie maiden warrior. But I'm still thinking...
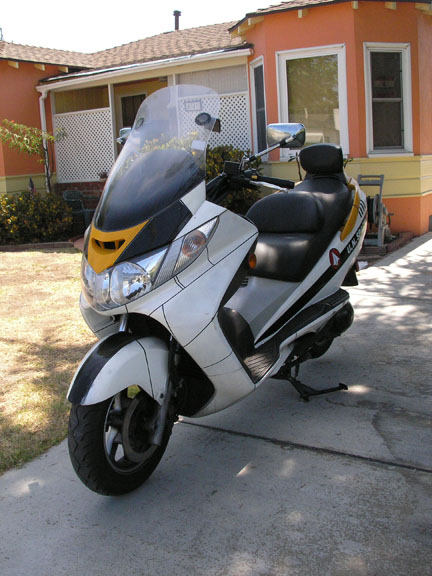
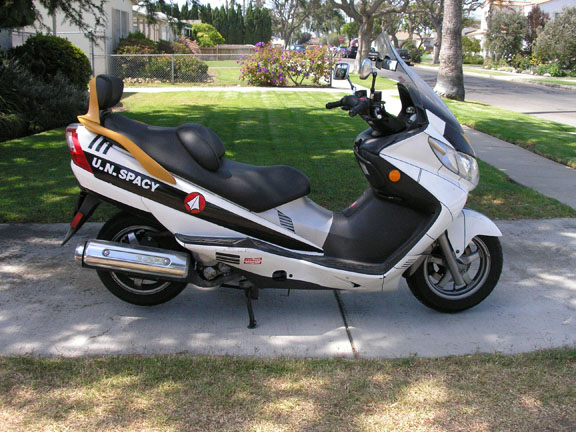
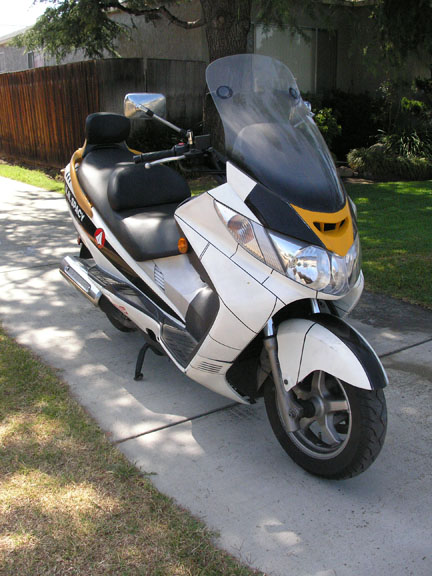
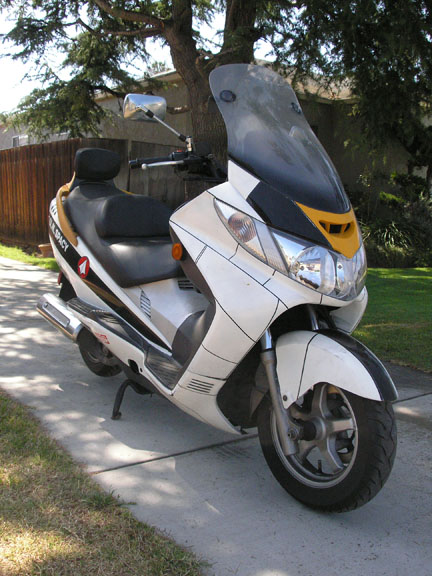
And in just 3 months since I did the basic paint in April, the poor girl has gotten extremely dirtied up. But it helps with the character some (maybe).
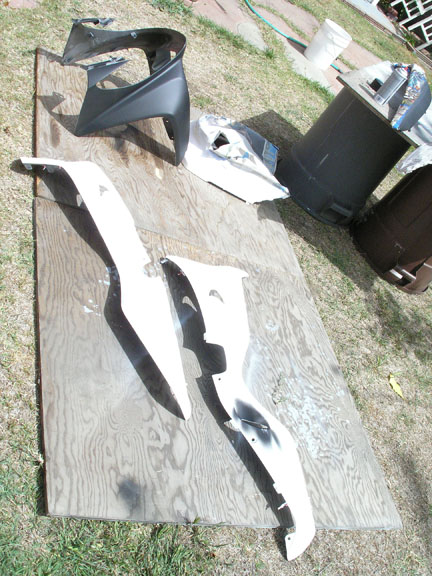
This work I was able to do without pulling the bike apart. The future logo work will also not need disassembly. However, to redo the pinstriping again, I will have to pull apart all the pieces.
Phase 2A.
April 13th-15th,
2007
I have a three-day weekend to get this done. Over the past few months I've come to discover all the mistakes that I made back in November. They are my first priority, the logos are secondary at this point.
By late in the first day I realized I didn't want to take a bus to work Monday. And thus, Phase 3 was born of revelation.
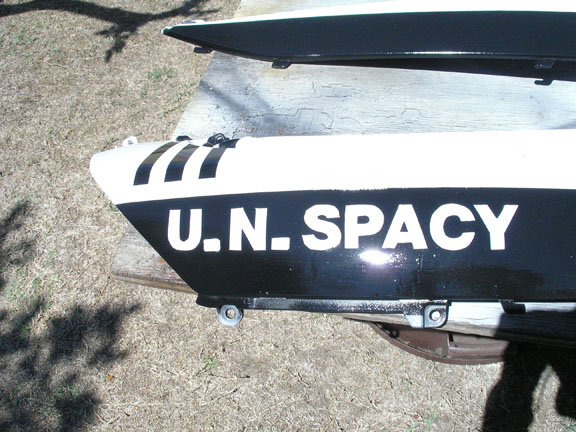
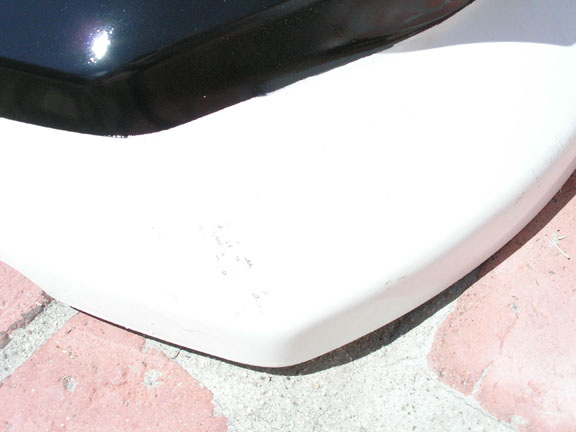
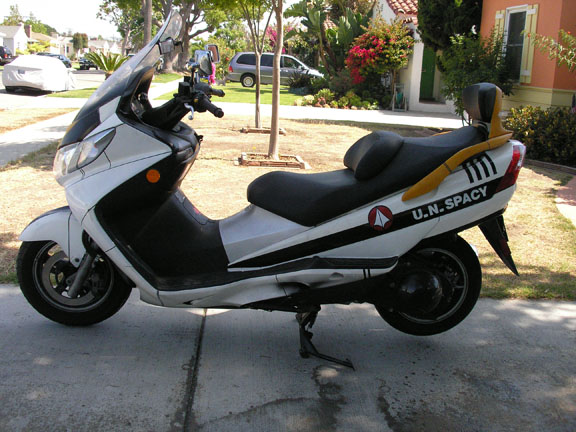
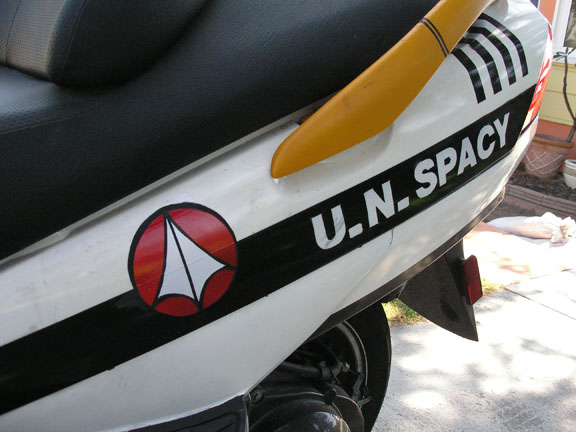
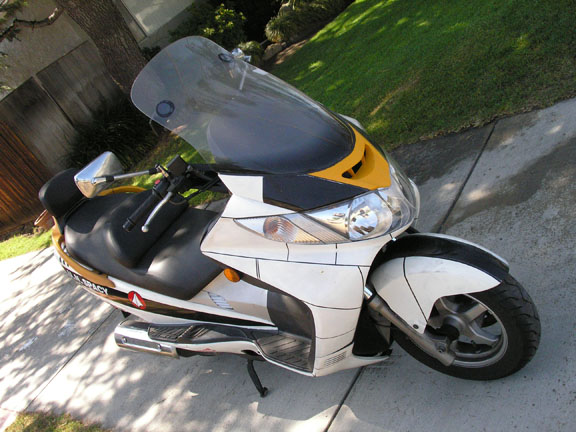
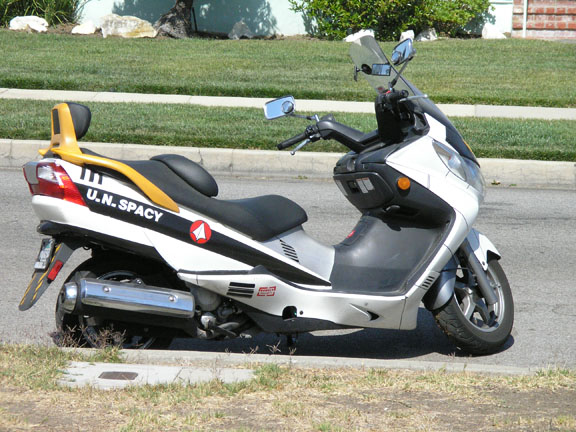
So I got the needed touchups, paint repairs and minor logo work accomplished. The UN Spacy logo on the side panels is there and fixed all major problems. She looks much much nicer now, but all the fine logo work now needs doing...
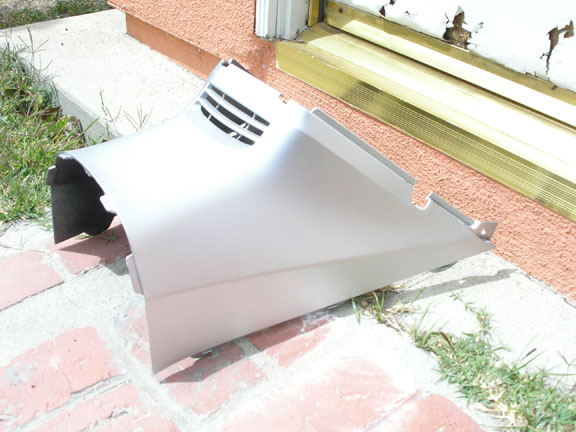
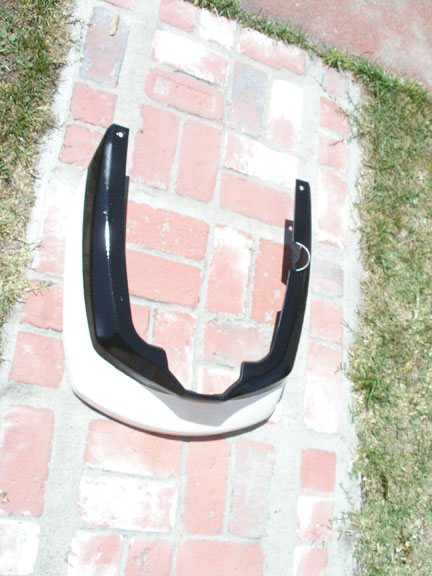
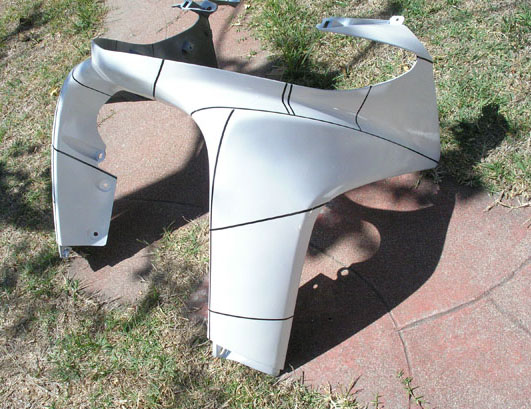
This paint repair work did require me to pull all the panels off. This went faster than last time. This time I had the pinstripe tape (1/16", but it looks like I'll have to go down to 1/32nd next time...)
Another 4 coats of white, 2 or 3 coats of black. The result? Real, real nice!!!